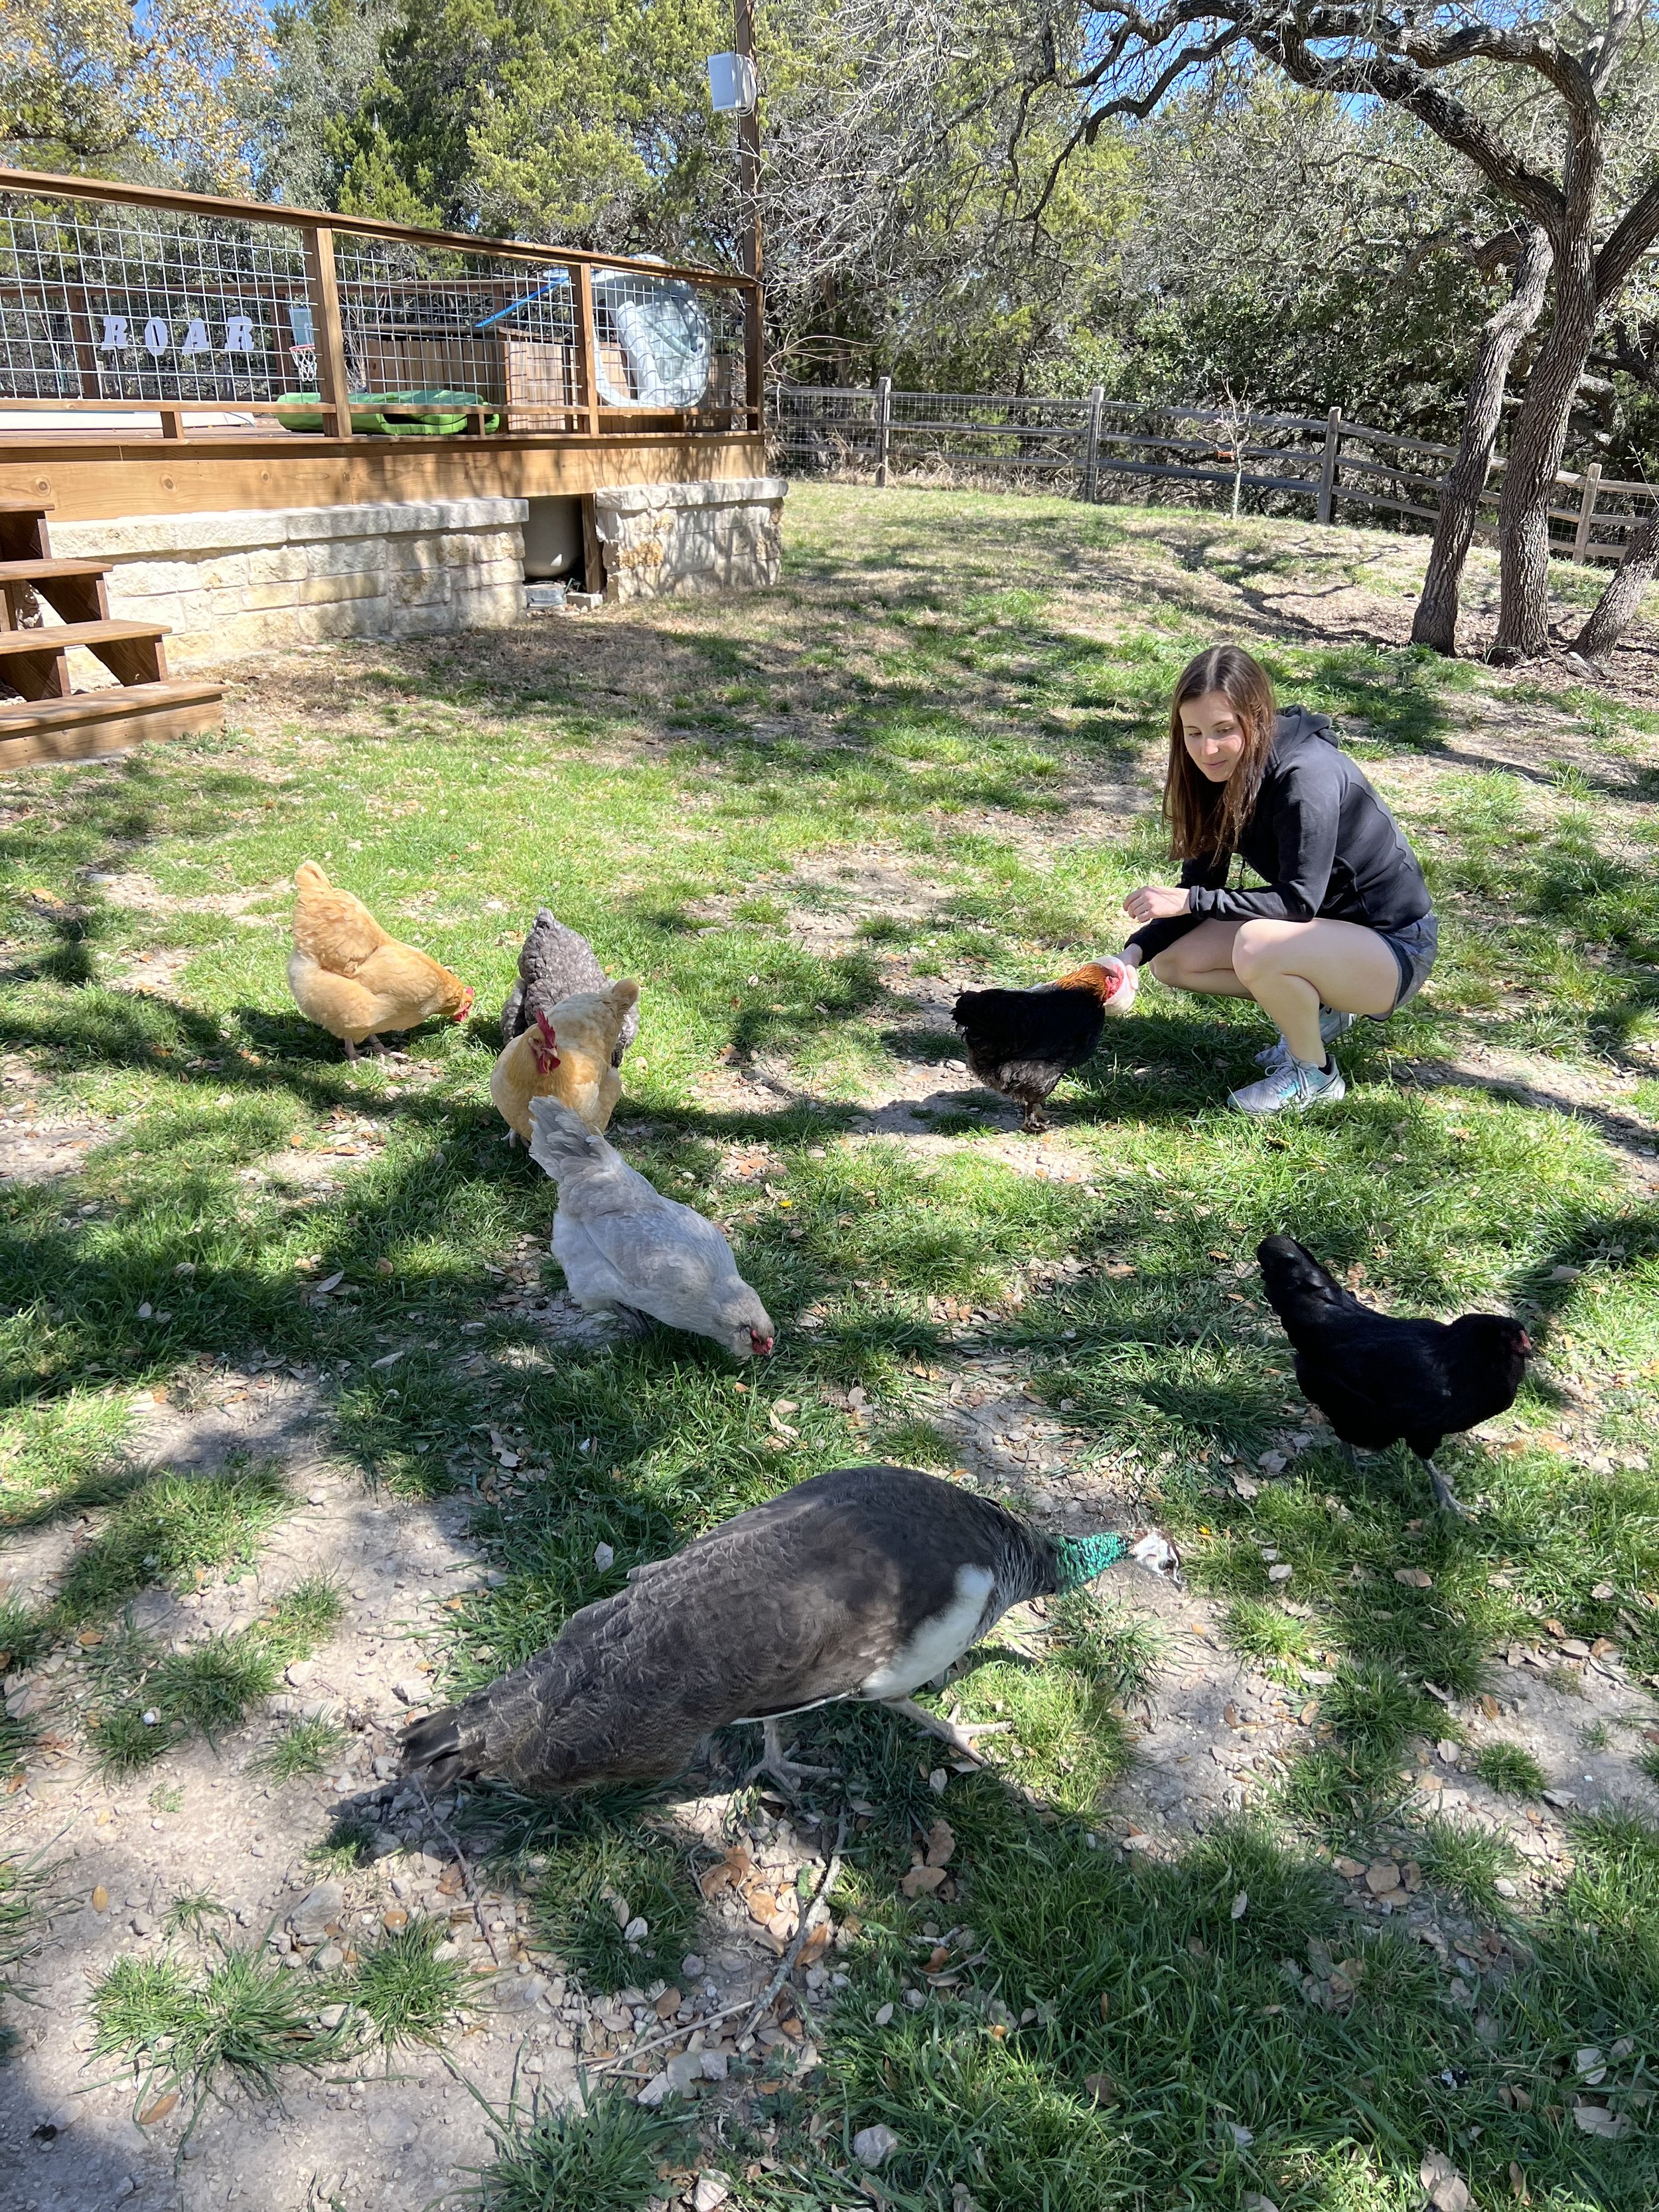
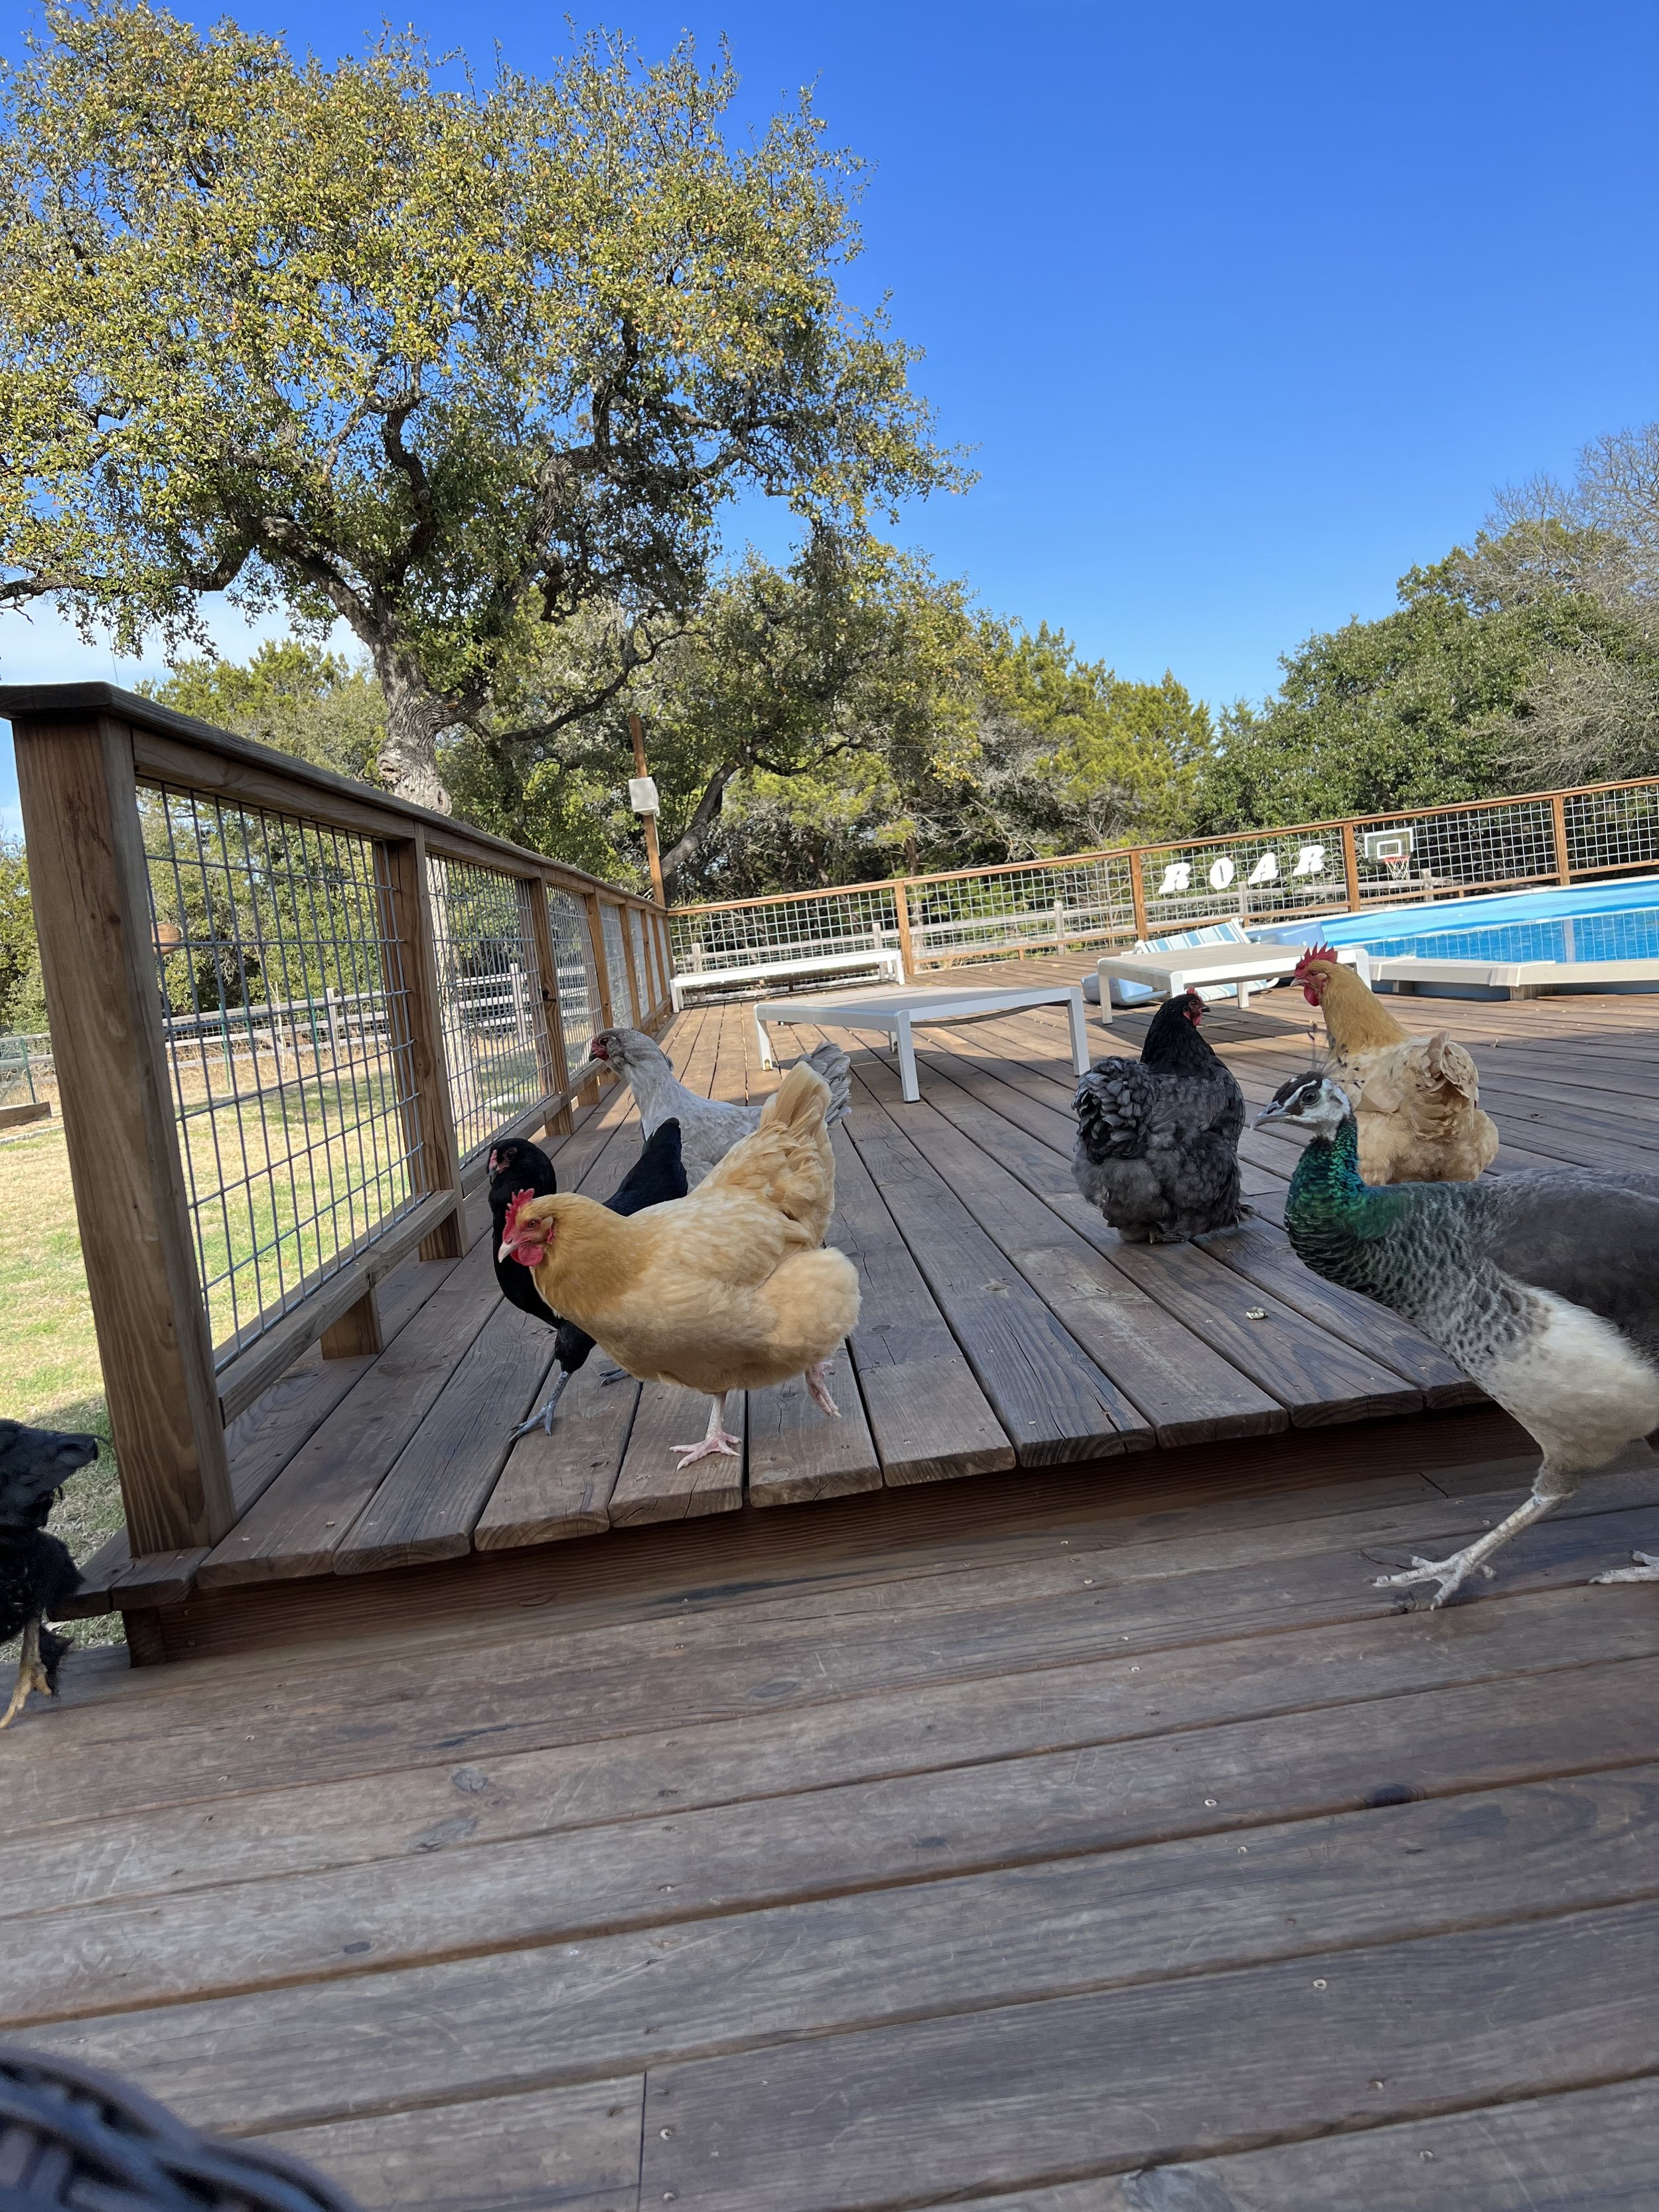
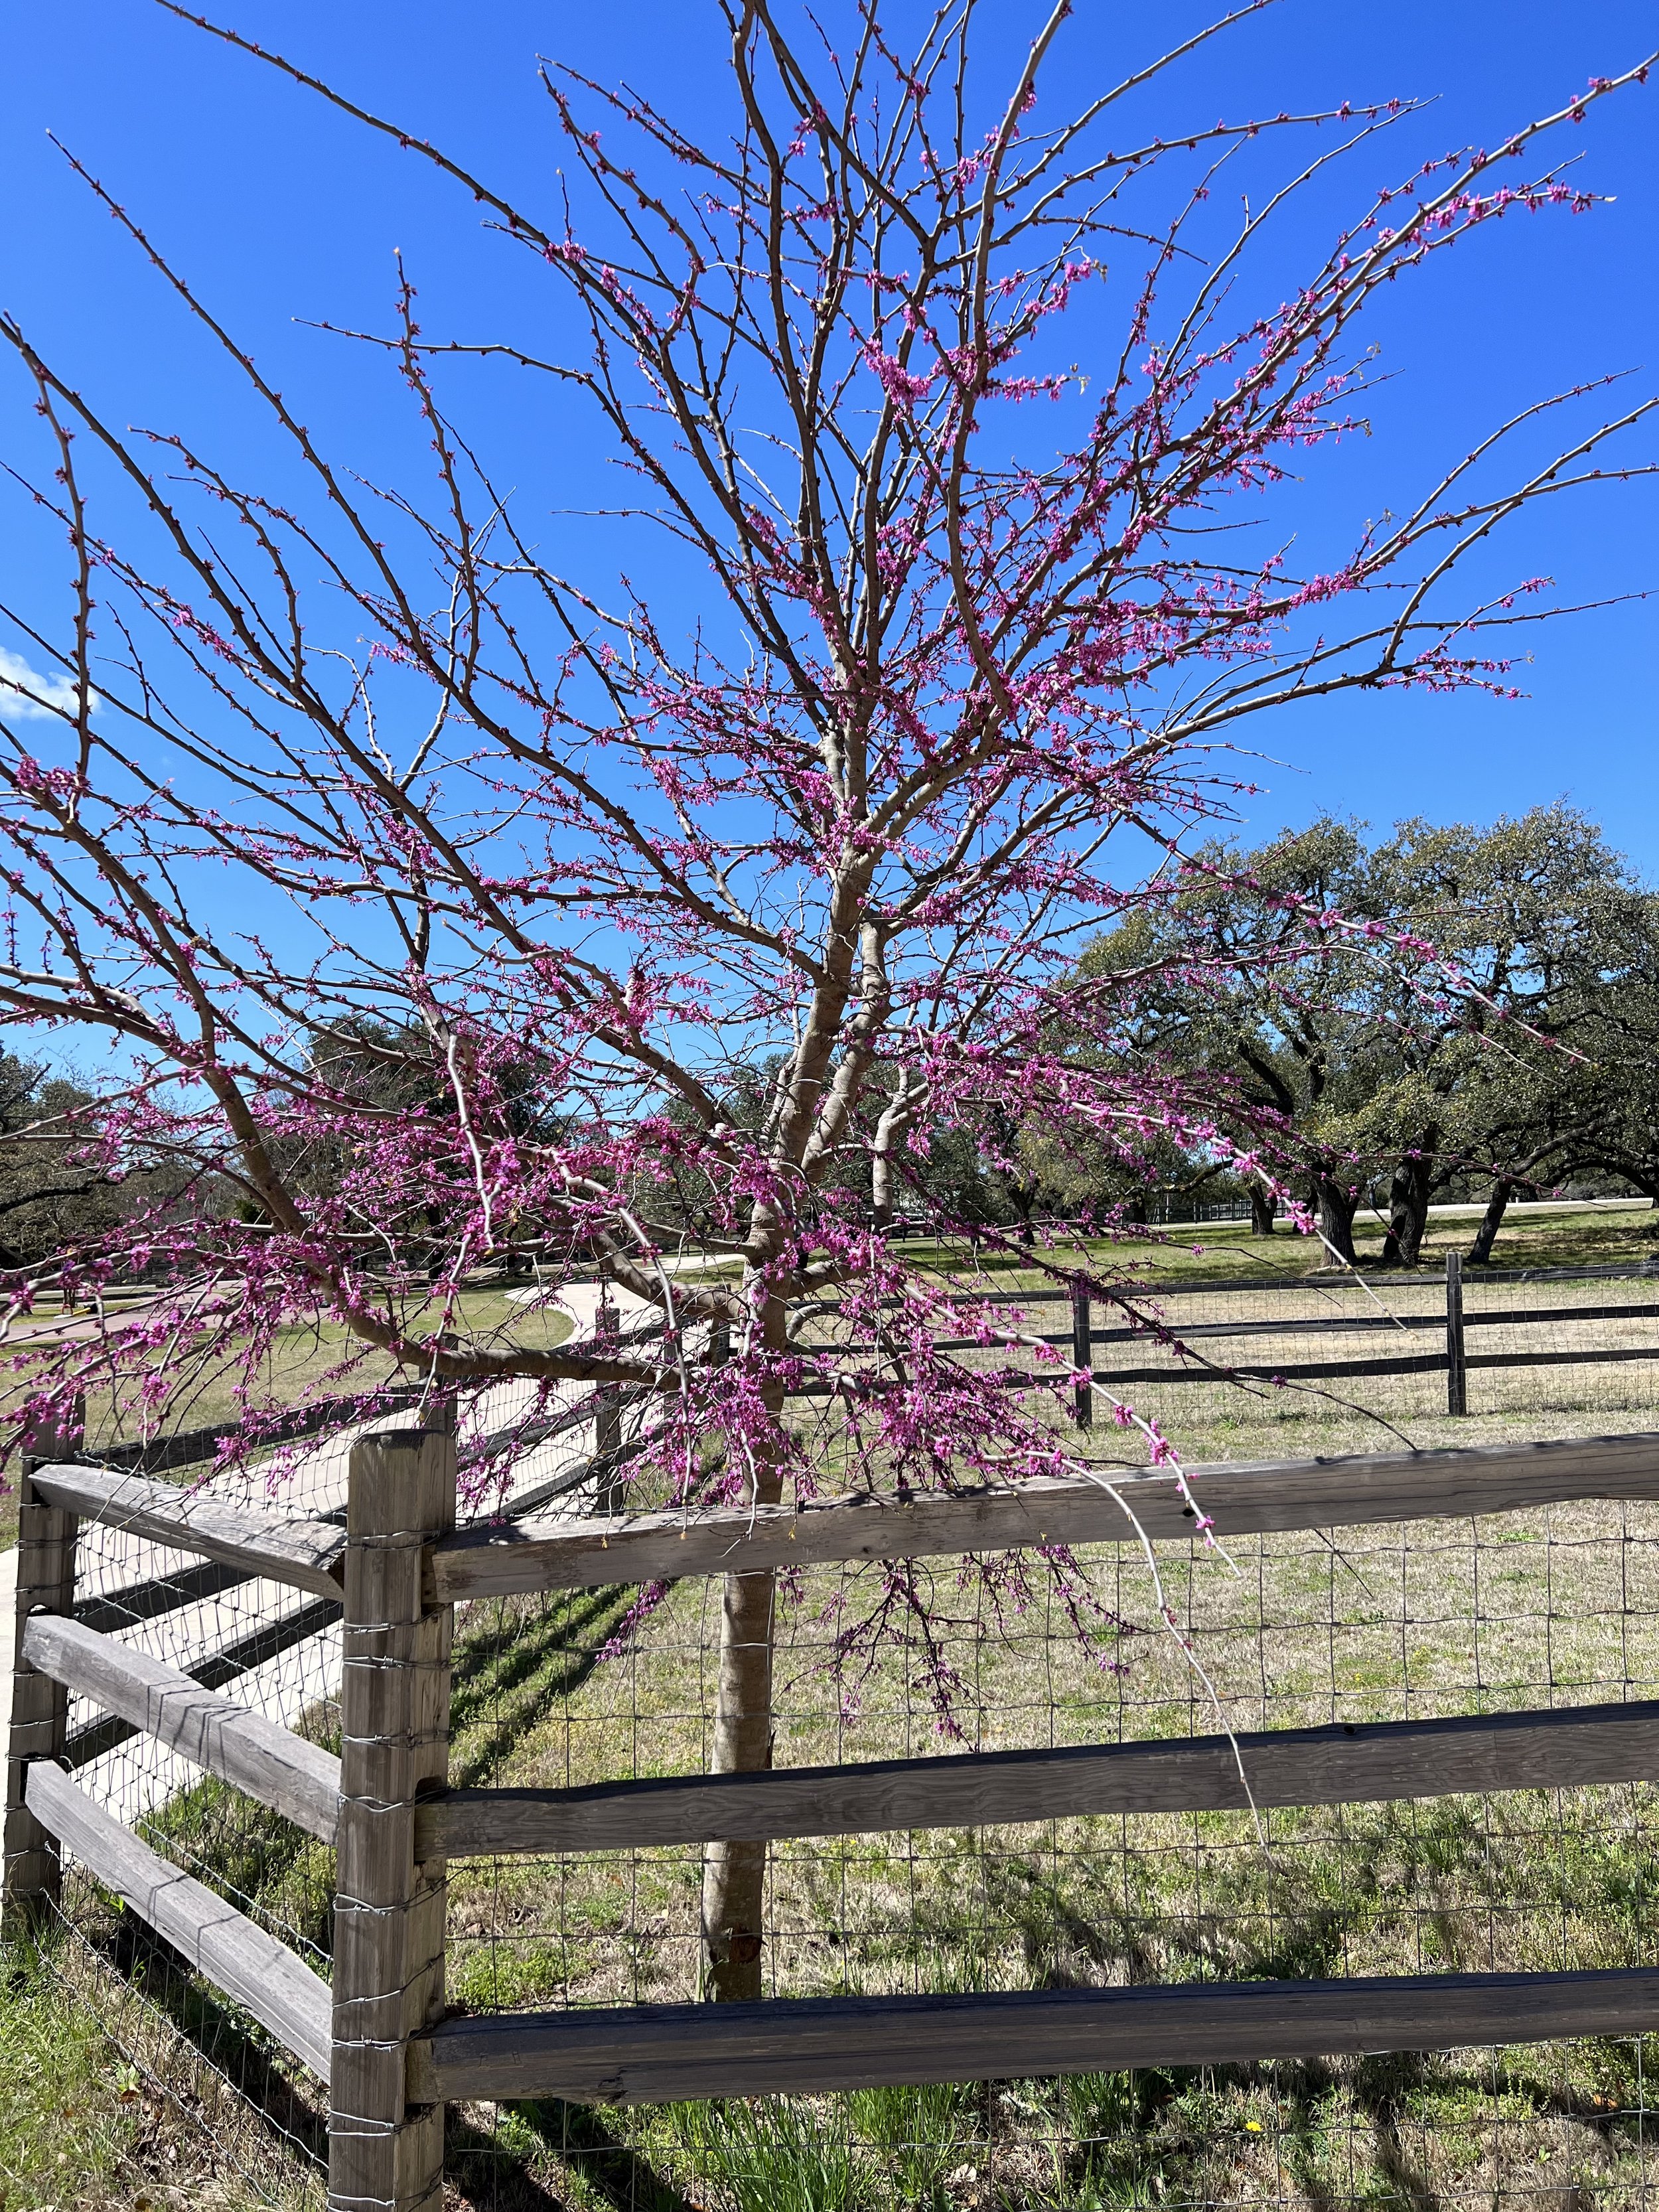
Things are really picking up around here with spring’s arrival. Today, in fact, we are cleaning the chicken coop (for the first time ever). I mean, every day I do a quick poop clean-up, but we’ve never taken out all the hay and everything and hosed it down. We’re now waiting for it all to dry before adding fresh hay and stuff. The chickens have been in there despite it being empty and Zsa Zsa even laid an egg!

Before Paige came to visit we felt we needed to trim the dogs’ toenails—especially Woody’s as his are like talons! If we are to trim nails, then Woody will likely pee all over everywhere which means we really may as well give them baths as well. So using the hose we managed the bath part pretty well, and we even remembered that Woody gets “cold-water-tail” so we used a pail of warm water on his tail which worked to prevent it! But the nail-clipping was crazy difficult and Woody jerked his paw at exactly wrong moment and so he had one bleeding toenail for awhile. And then the annoying thing is that even after a trimming, Woody has crazy big sharp nails!
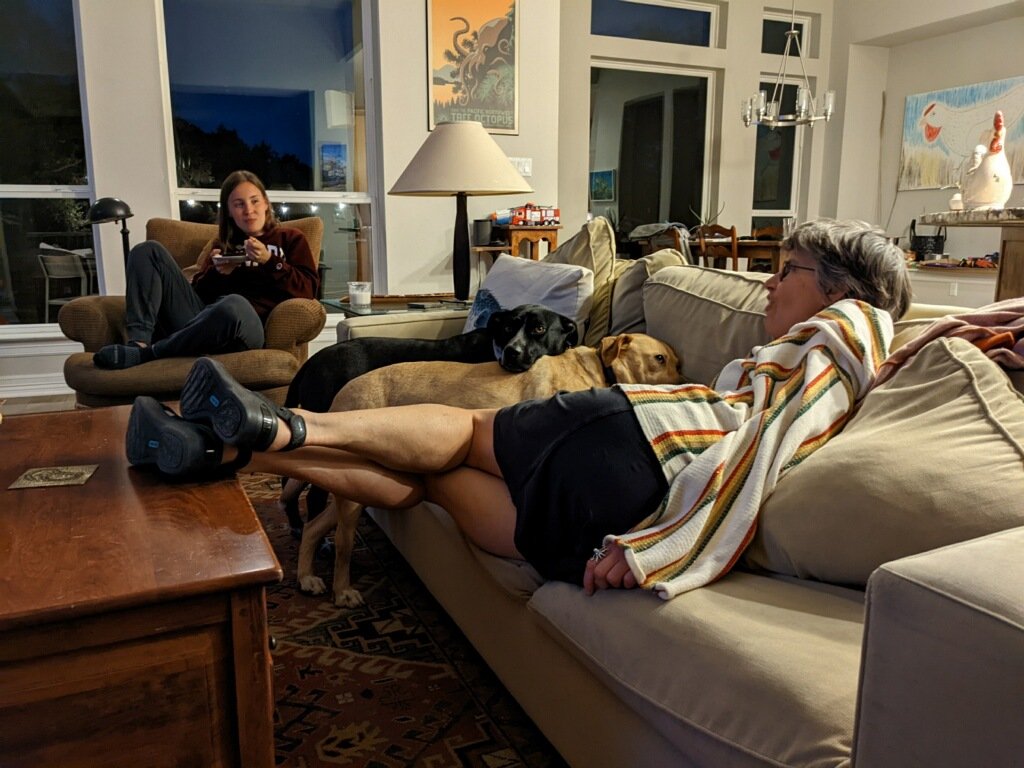
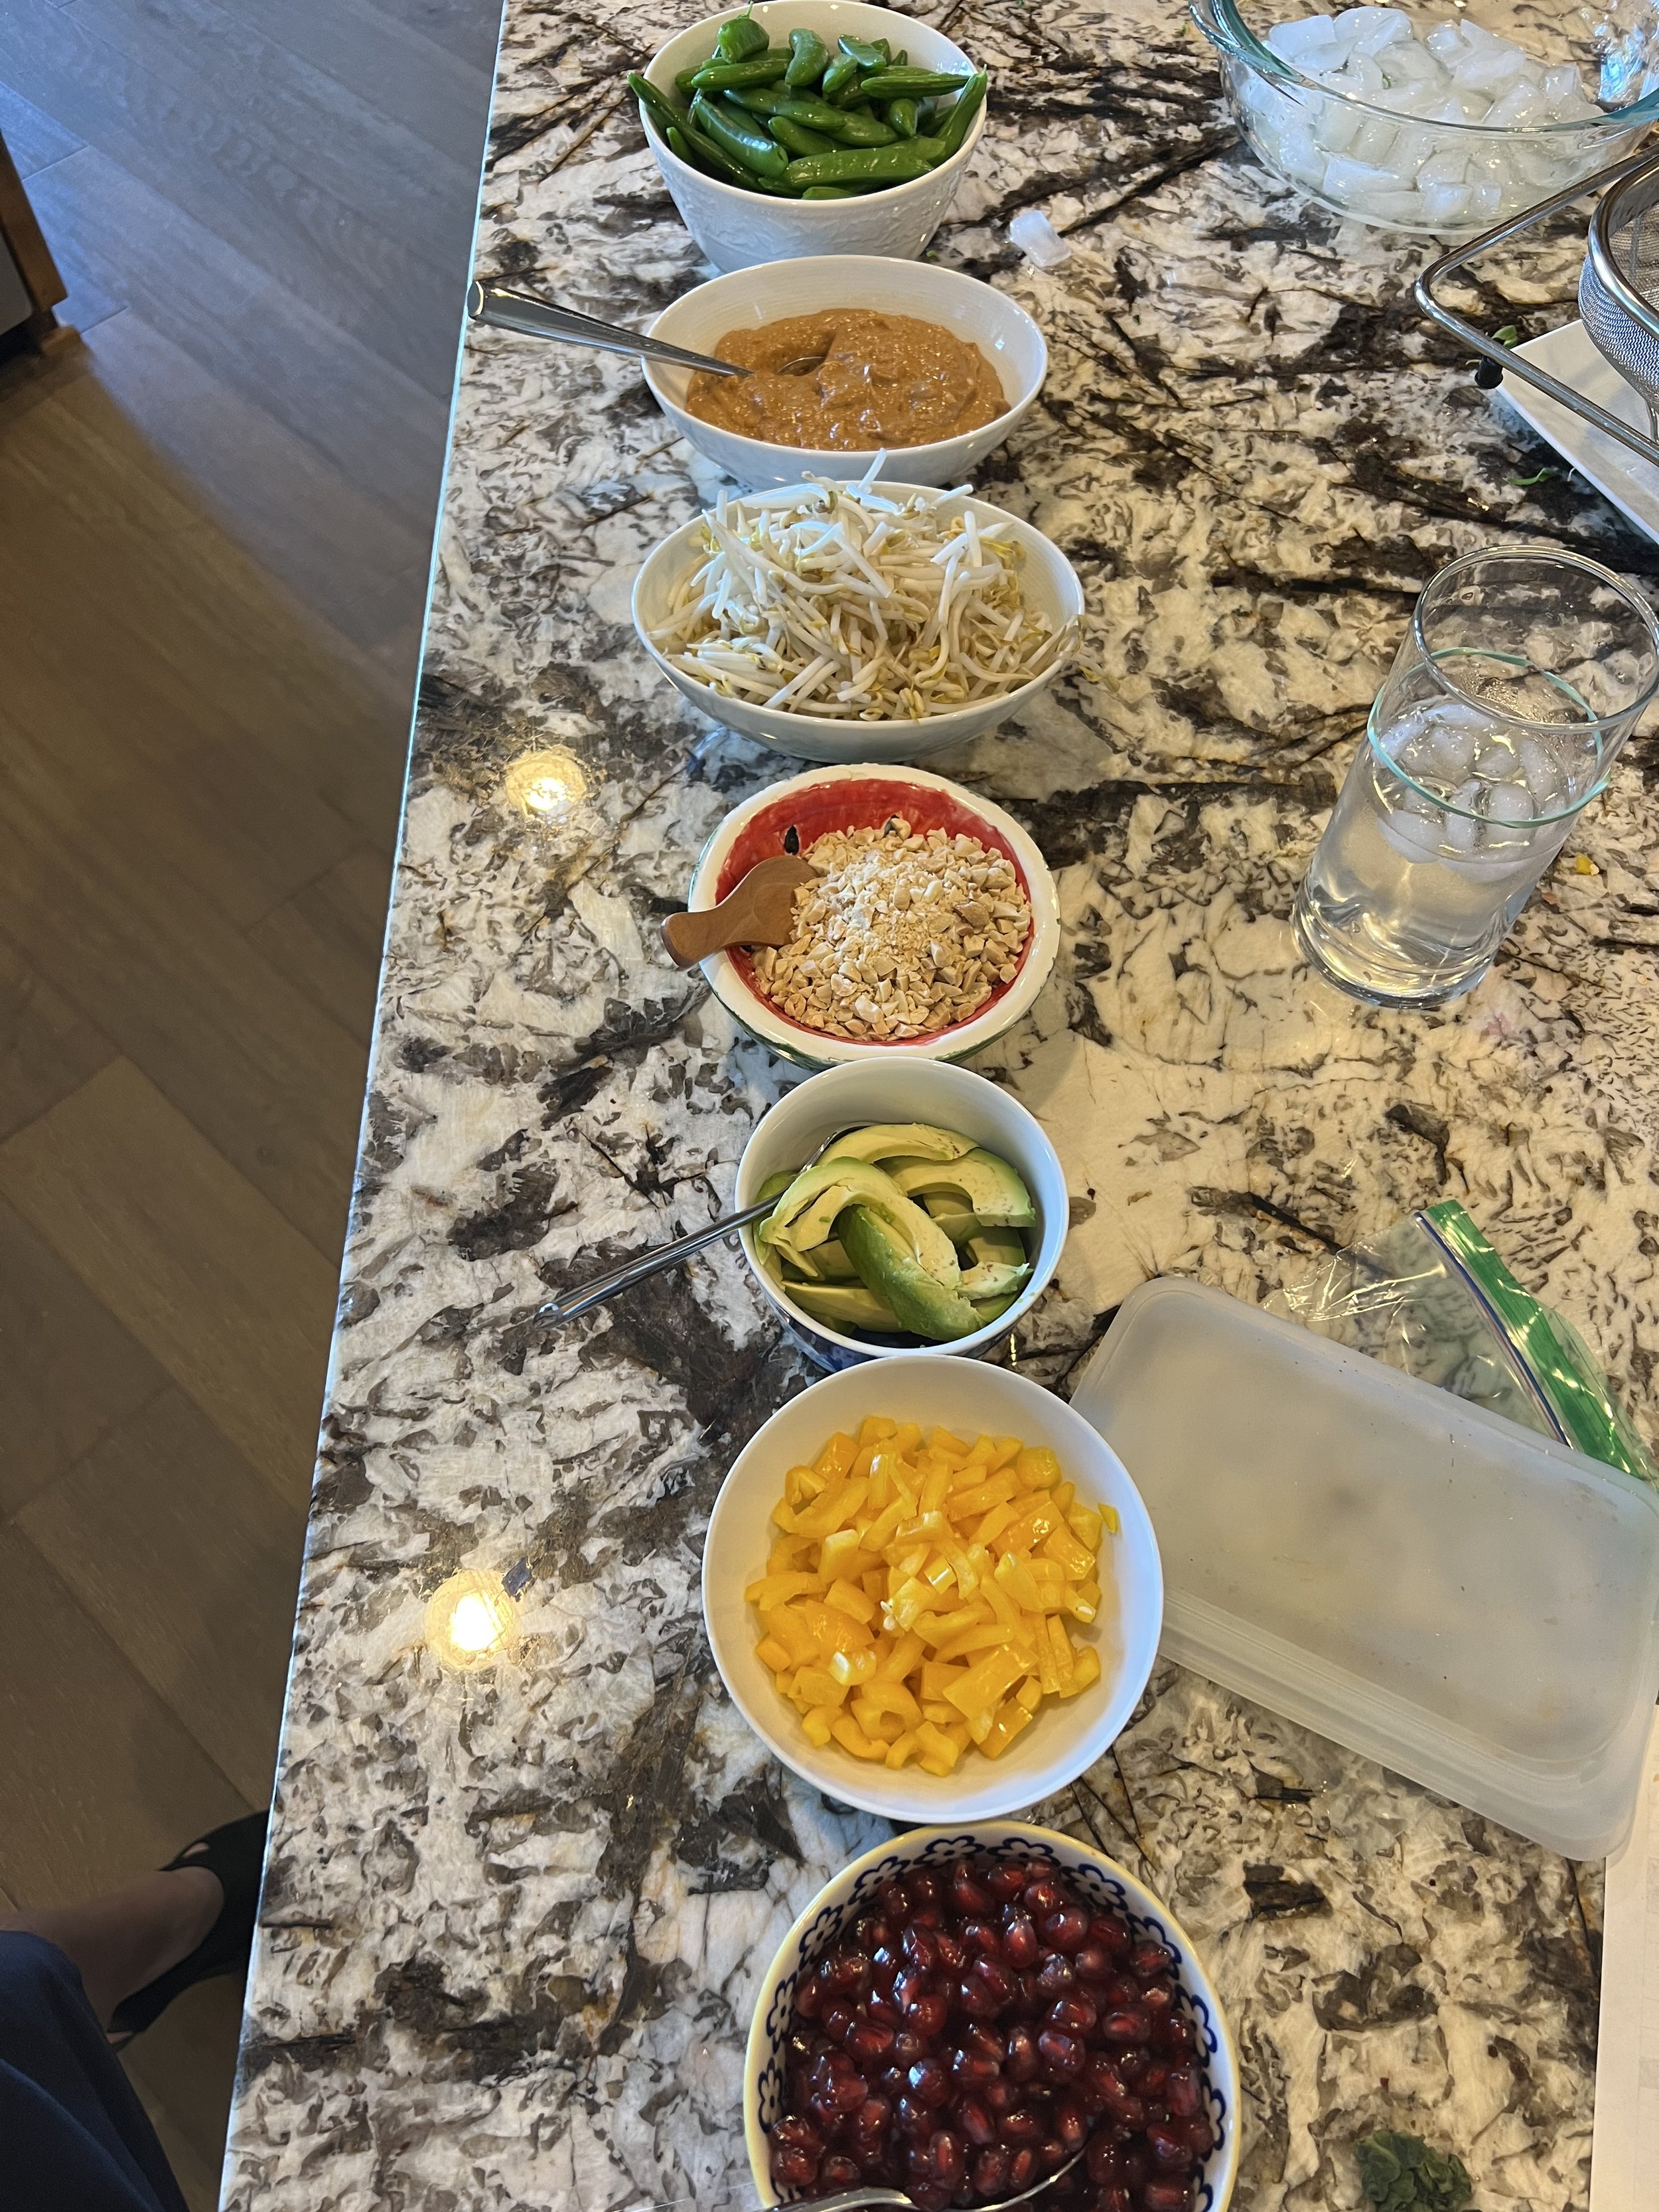
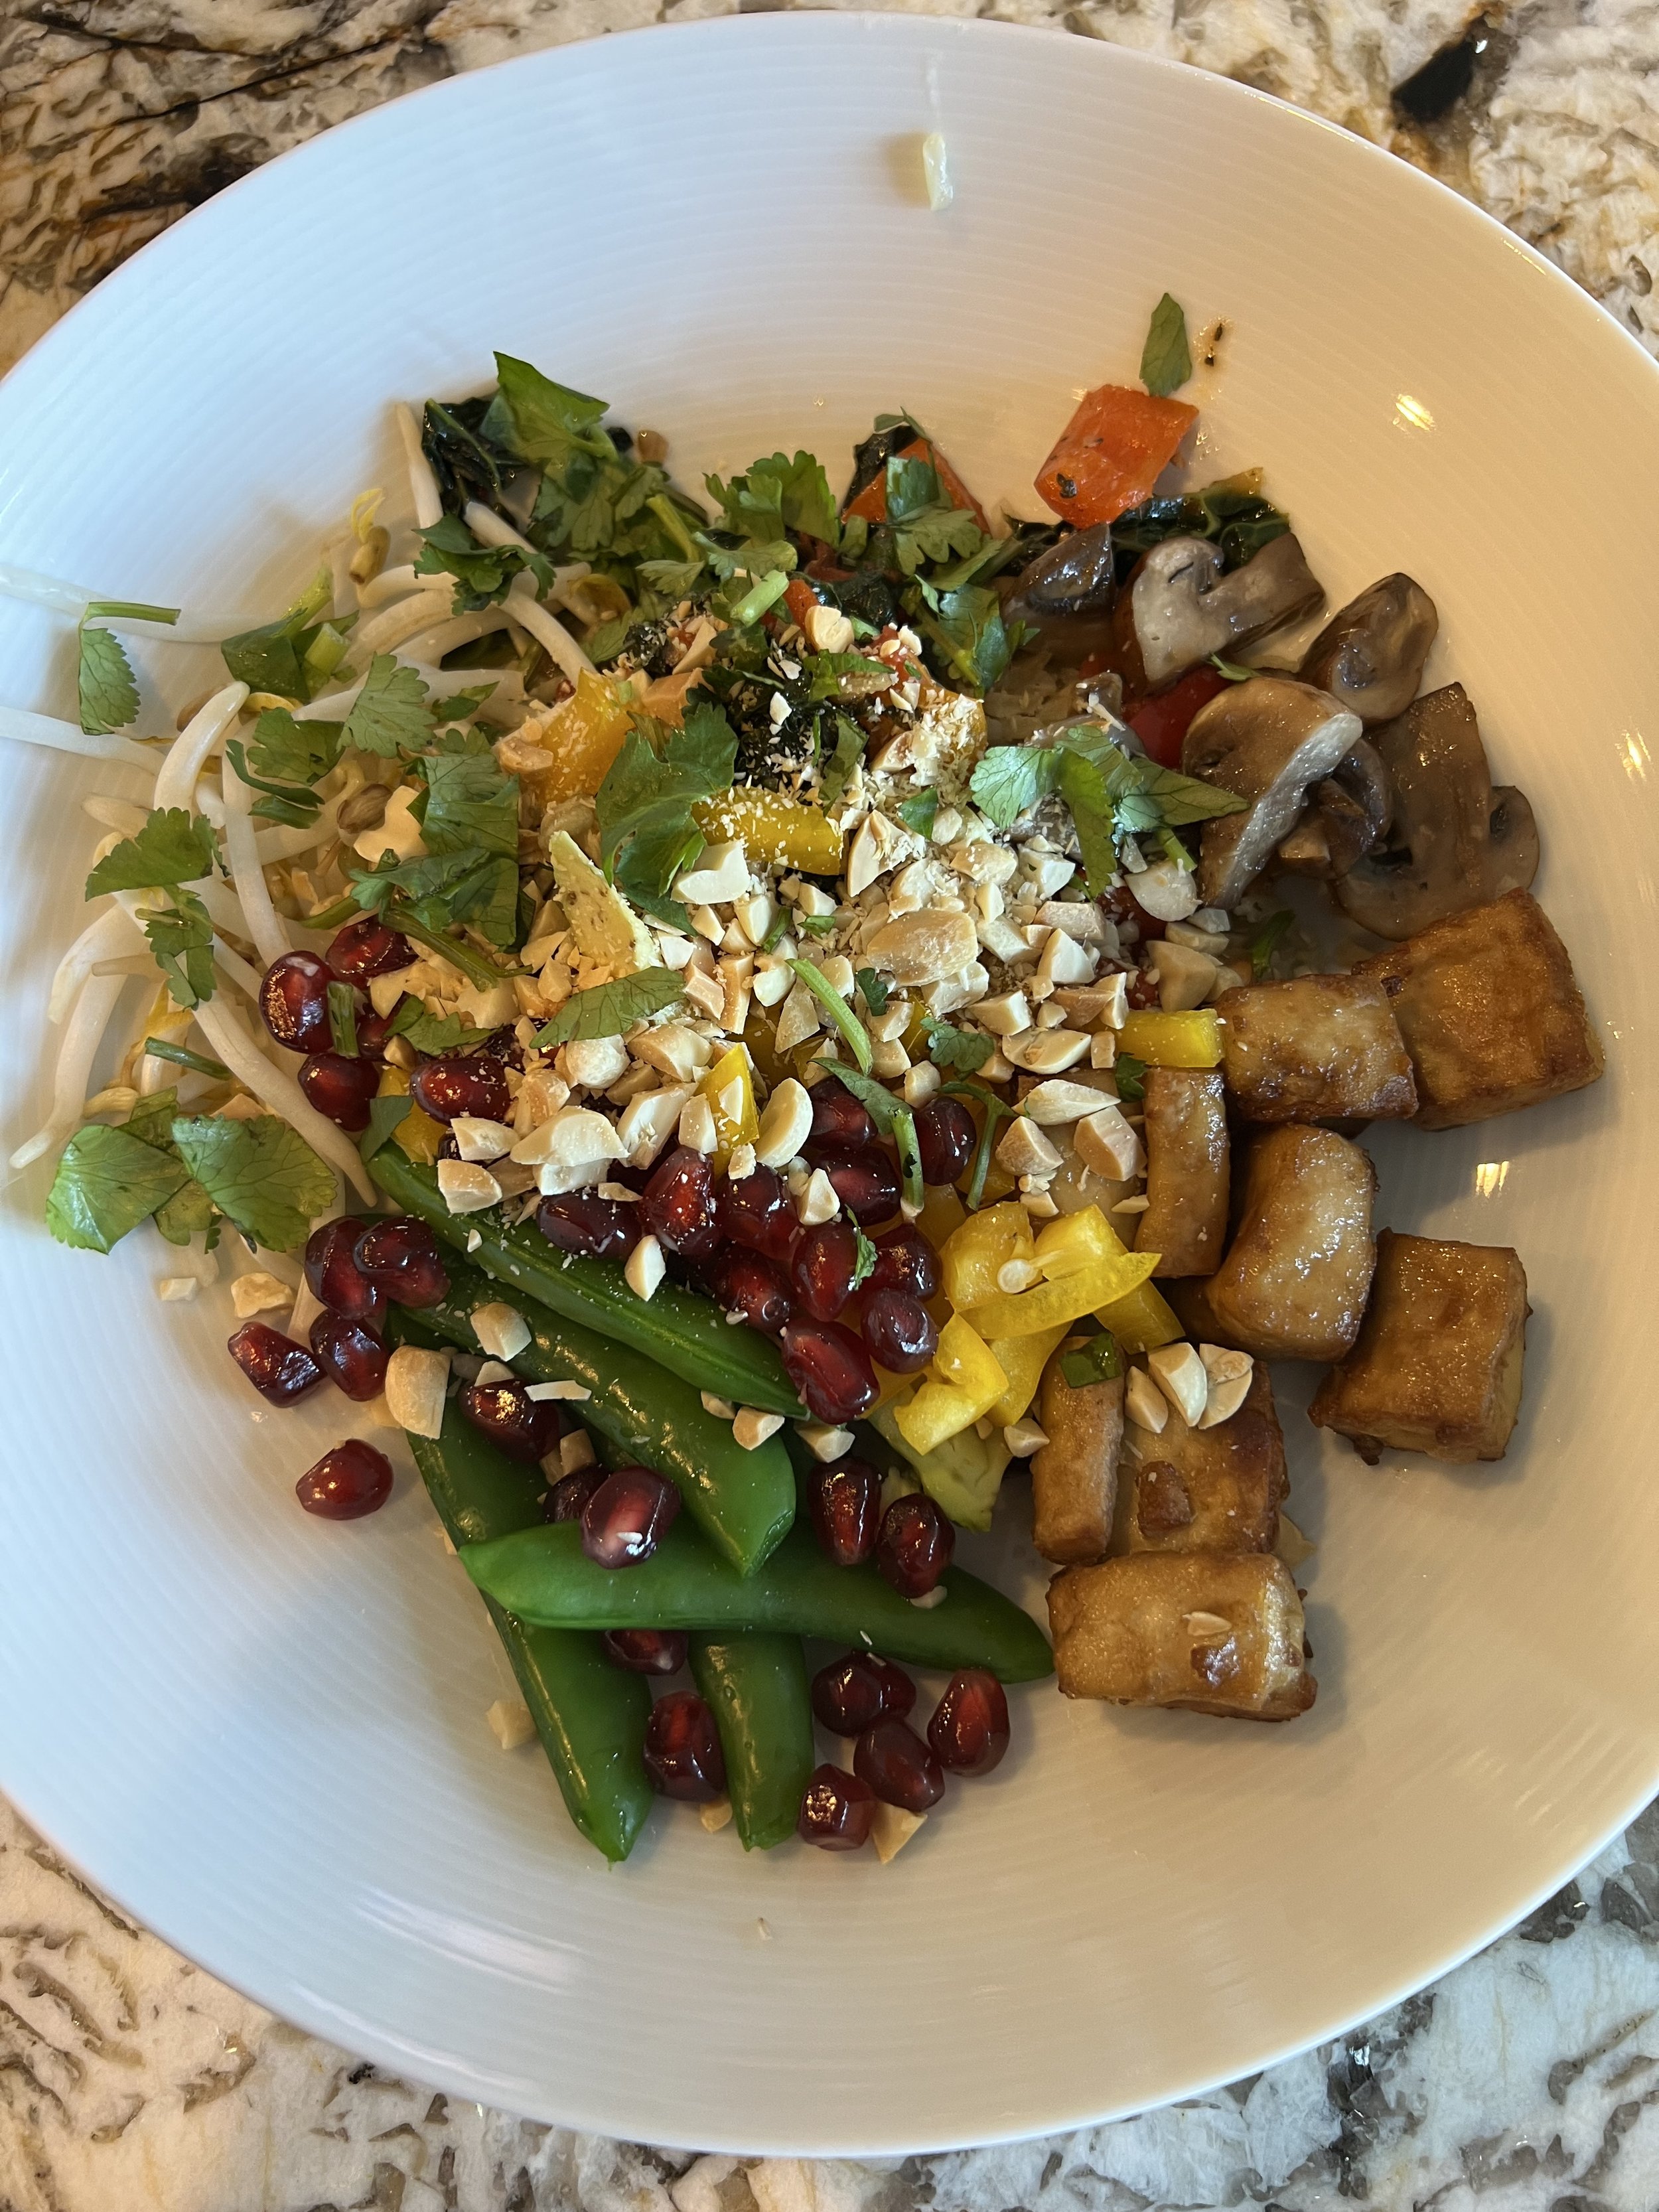
So Paige came to visit and it was nice and relaxing. We just ate stuff like shrimp tacos, tofu bowl, went to Jester King once, and did jigsaw puzzles. Paige and dogs were very happy to reunite! The airport was a mess at drop-off due to SXSW but she got home OK.

On the trail cam we caught our first RINGTAIL! Very exciting.
Regi recently invited me over and we plunged into “crafts”. She heard me mention that I had a large shell collection I could do something with, so she gathered up some extra glasses and vases and we pooled together all our shells, and warmed up our glue guns! It was pretty fun, we made some stuff. When you light up Regi’s from underneath, it’s the coolest thing.

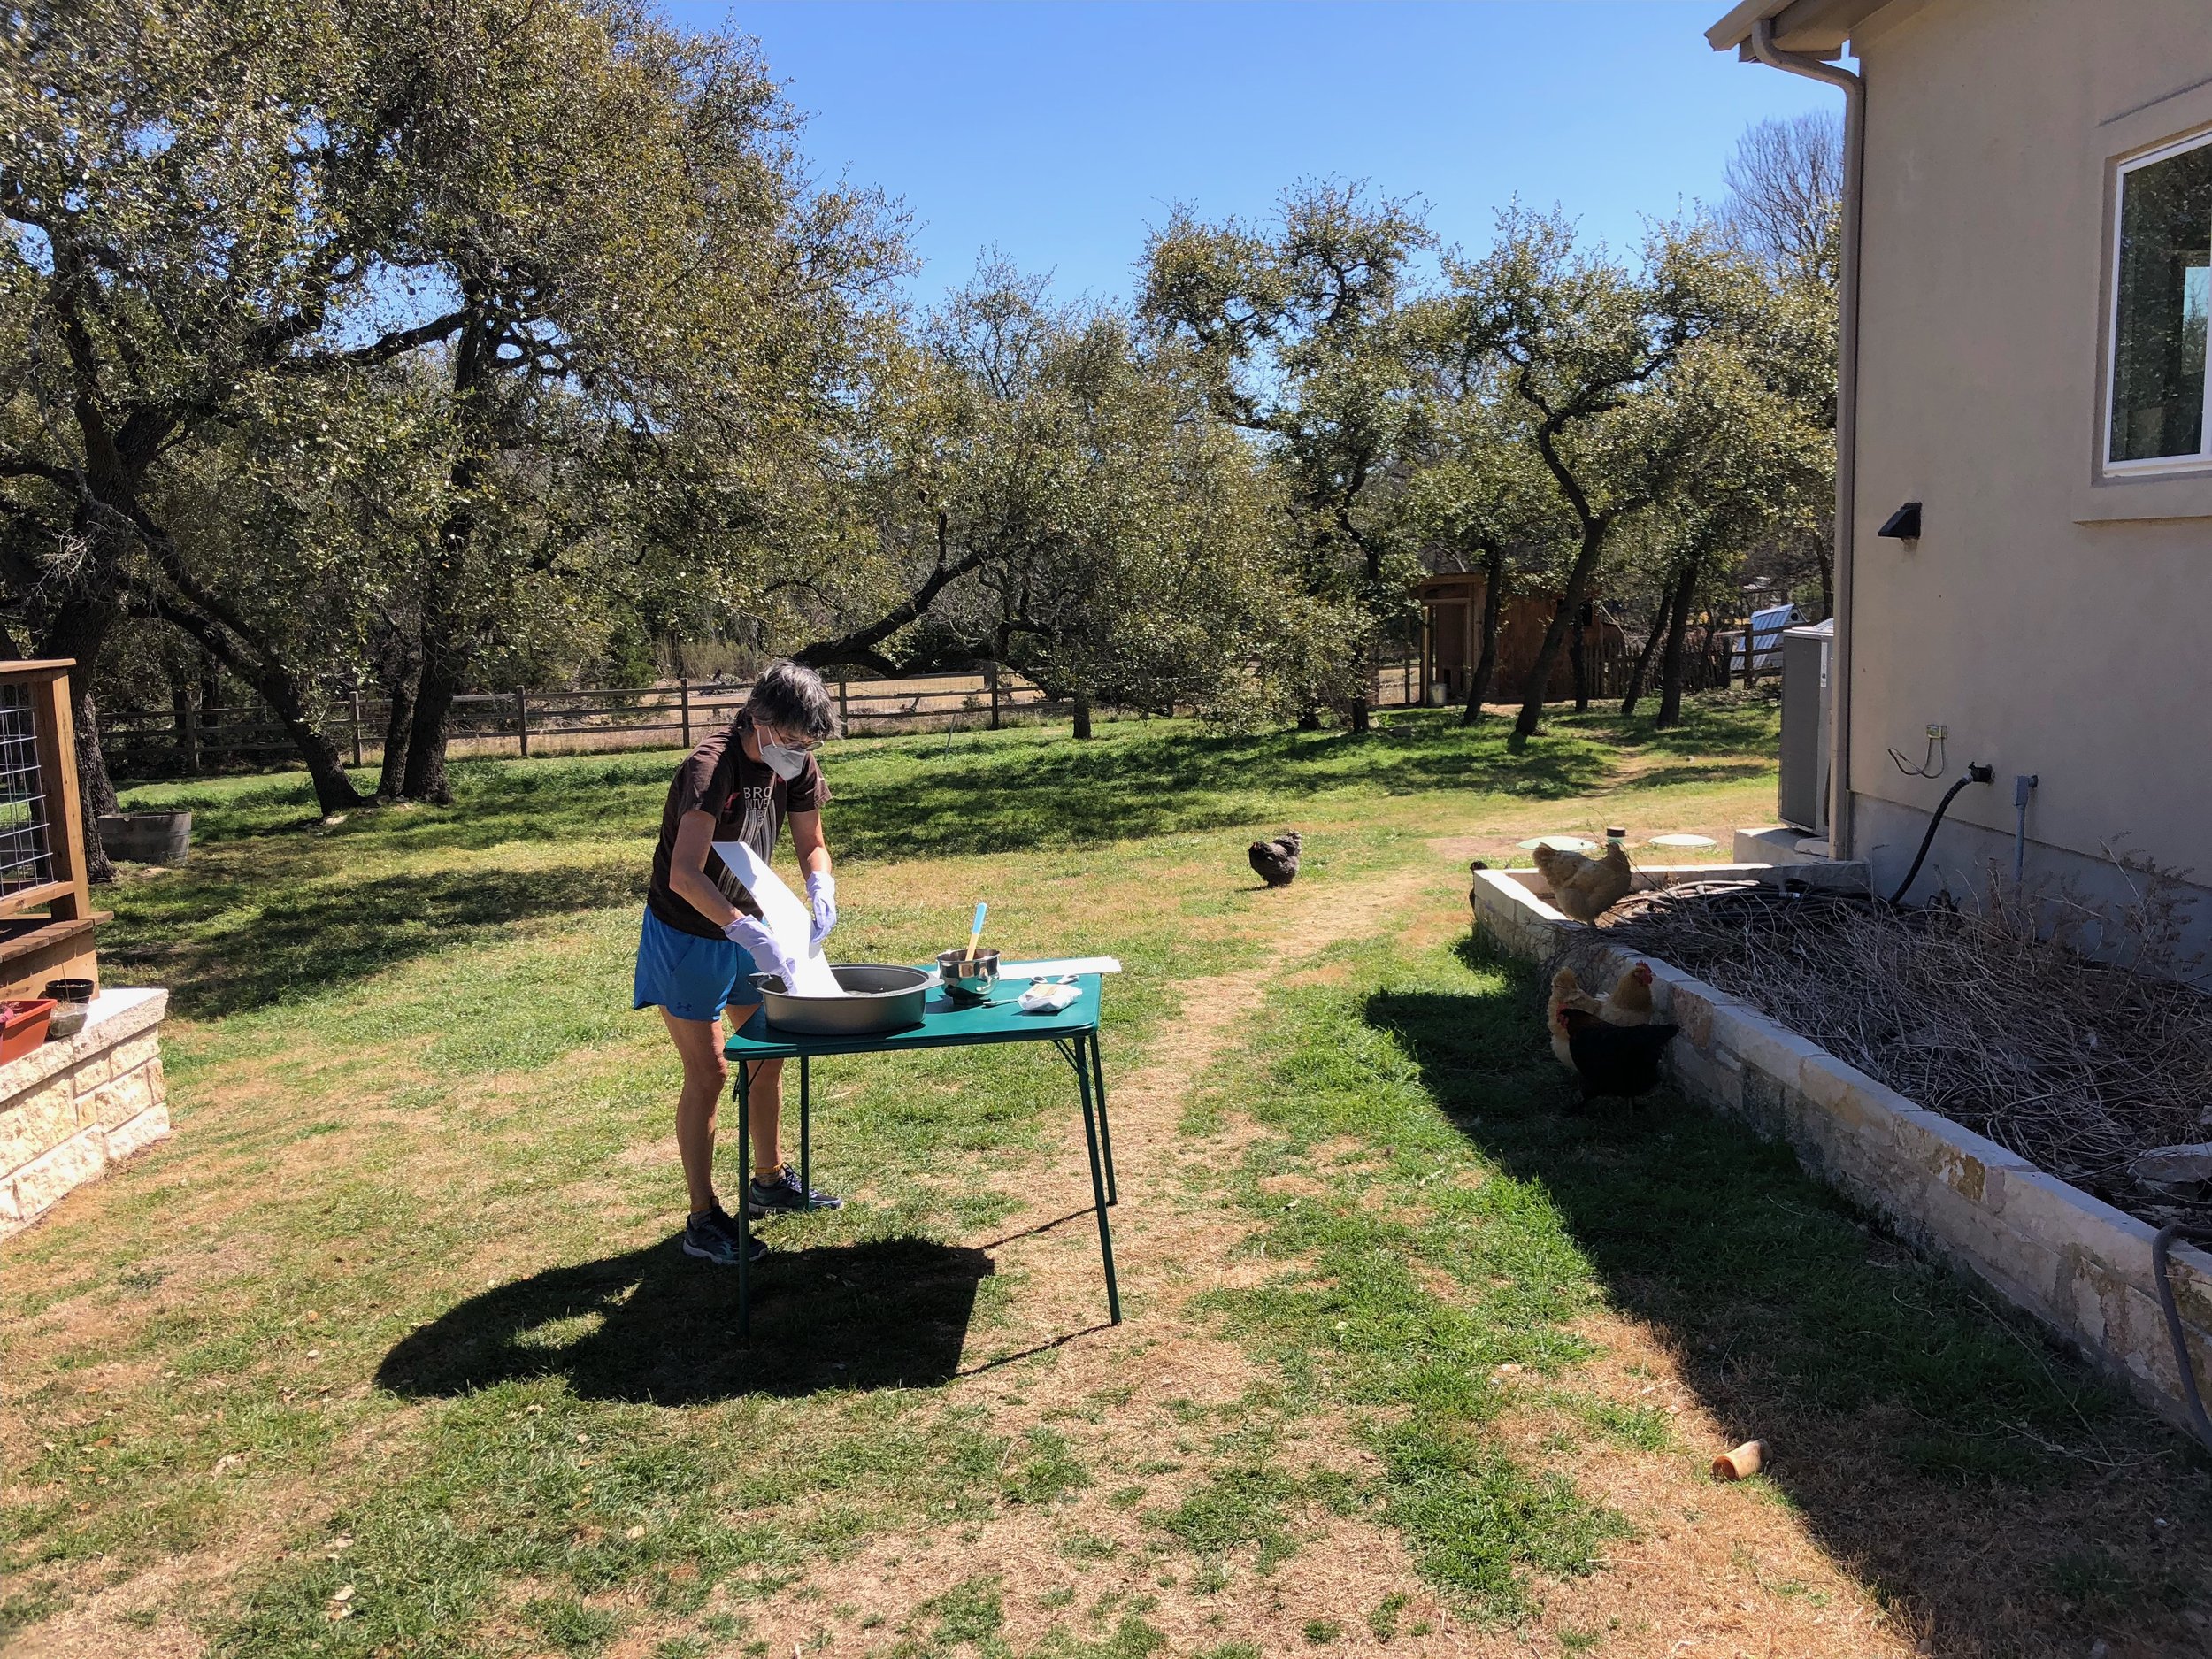
So back at the house, I finally gathered the necessary materials to start working on botanical printing. The first step is to prepare your paper. I had ordered some very fancy, thick watercolor paper and tore them into thinner strips. These strips soaked in a bath of Aluminum Acetate and were hung to dry. This is the “mordant” which makes the dye stick to the paper. Then, in order to add protein to the paper, I soaked them all in a soy milk bath and hung to dry. Then I did the soy milk bath AGAIN and hung to dry.
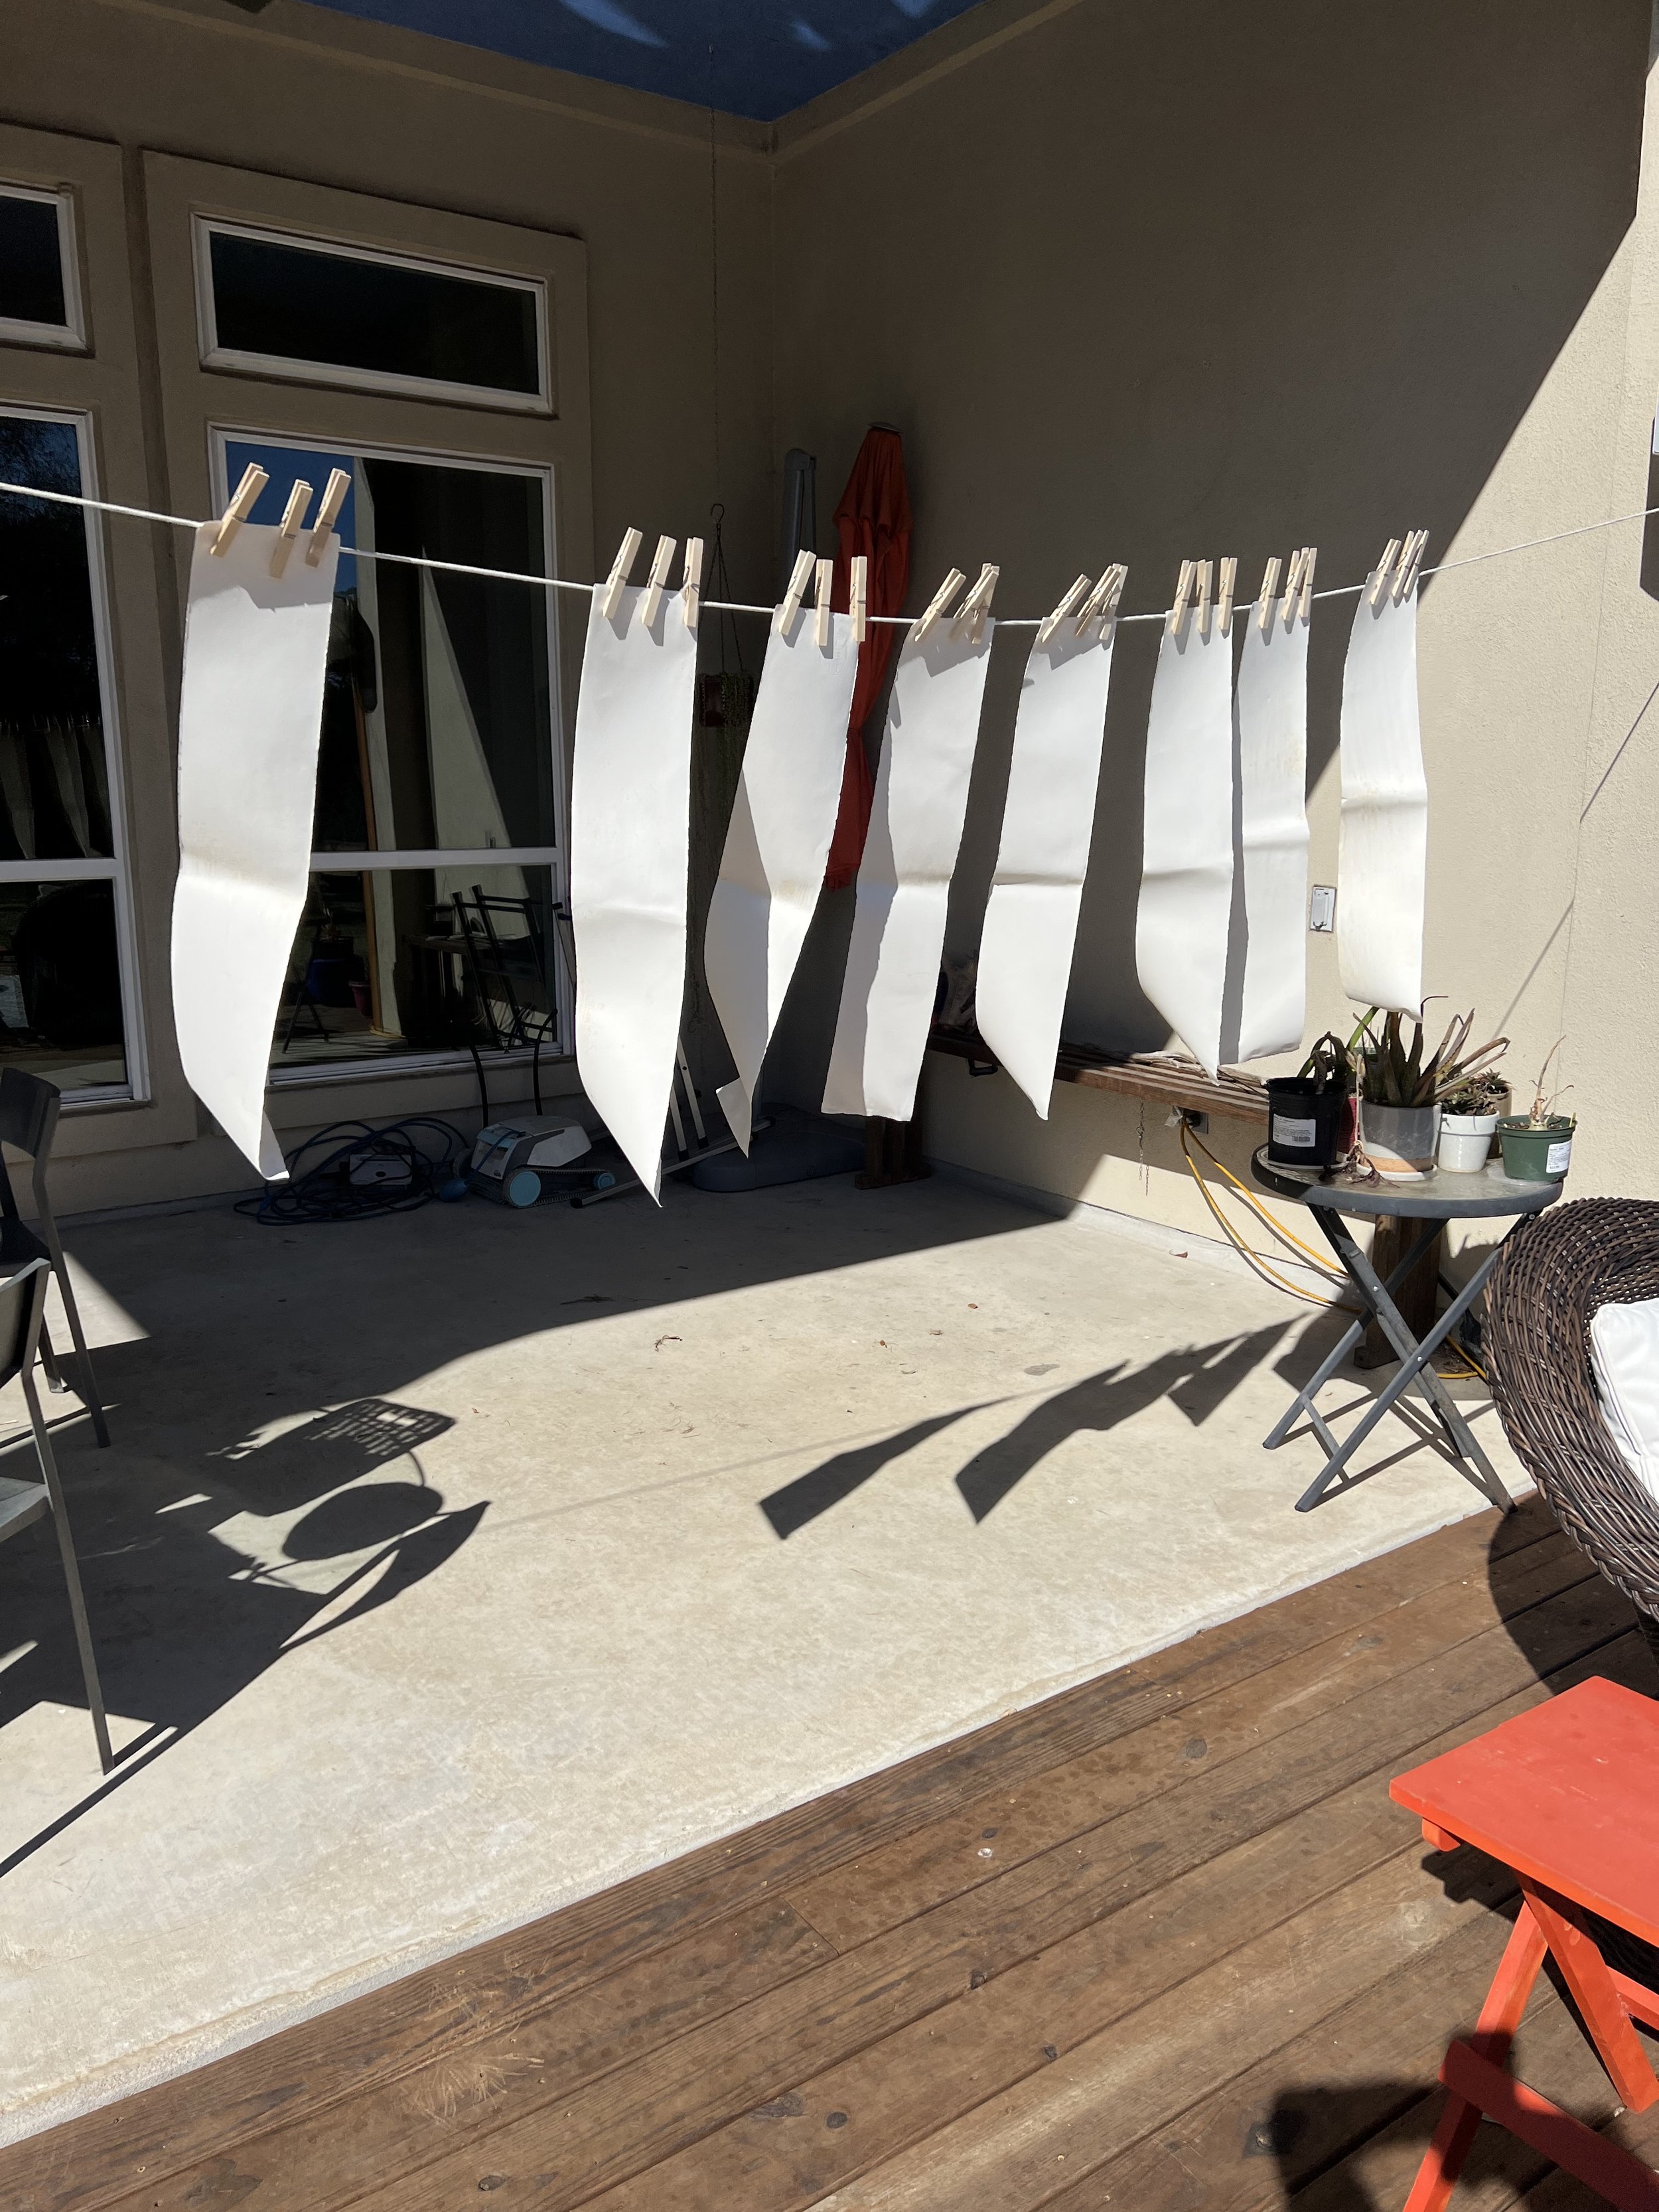
Rob devised this clever clothesline which I can easily put up and dismantle. Of course, this day was SUPER WINDY so it was stressful trying to keep the papers from flying all over.
The papers had accumulated some concerning attributes by now: the pan I was using for soaking was a little rusty inside which got on the some of the paper, the soy had clung at certain places to the paper making it blotchy (maybe because I had created the soy milk from a powder??), and the papers weren’t flat. By the second soy milk bath, I was trying to squeegee them when I hung them up to get some of the clumpy bits of soy milk off. Anyway, none of this seemed to matter by the end anyhow. At least on the one strip I have done.
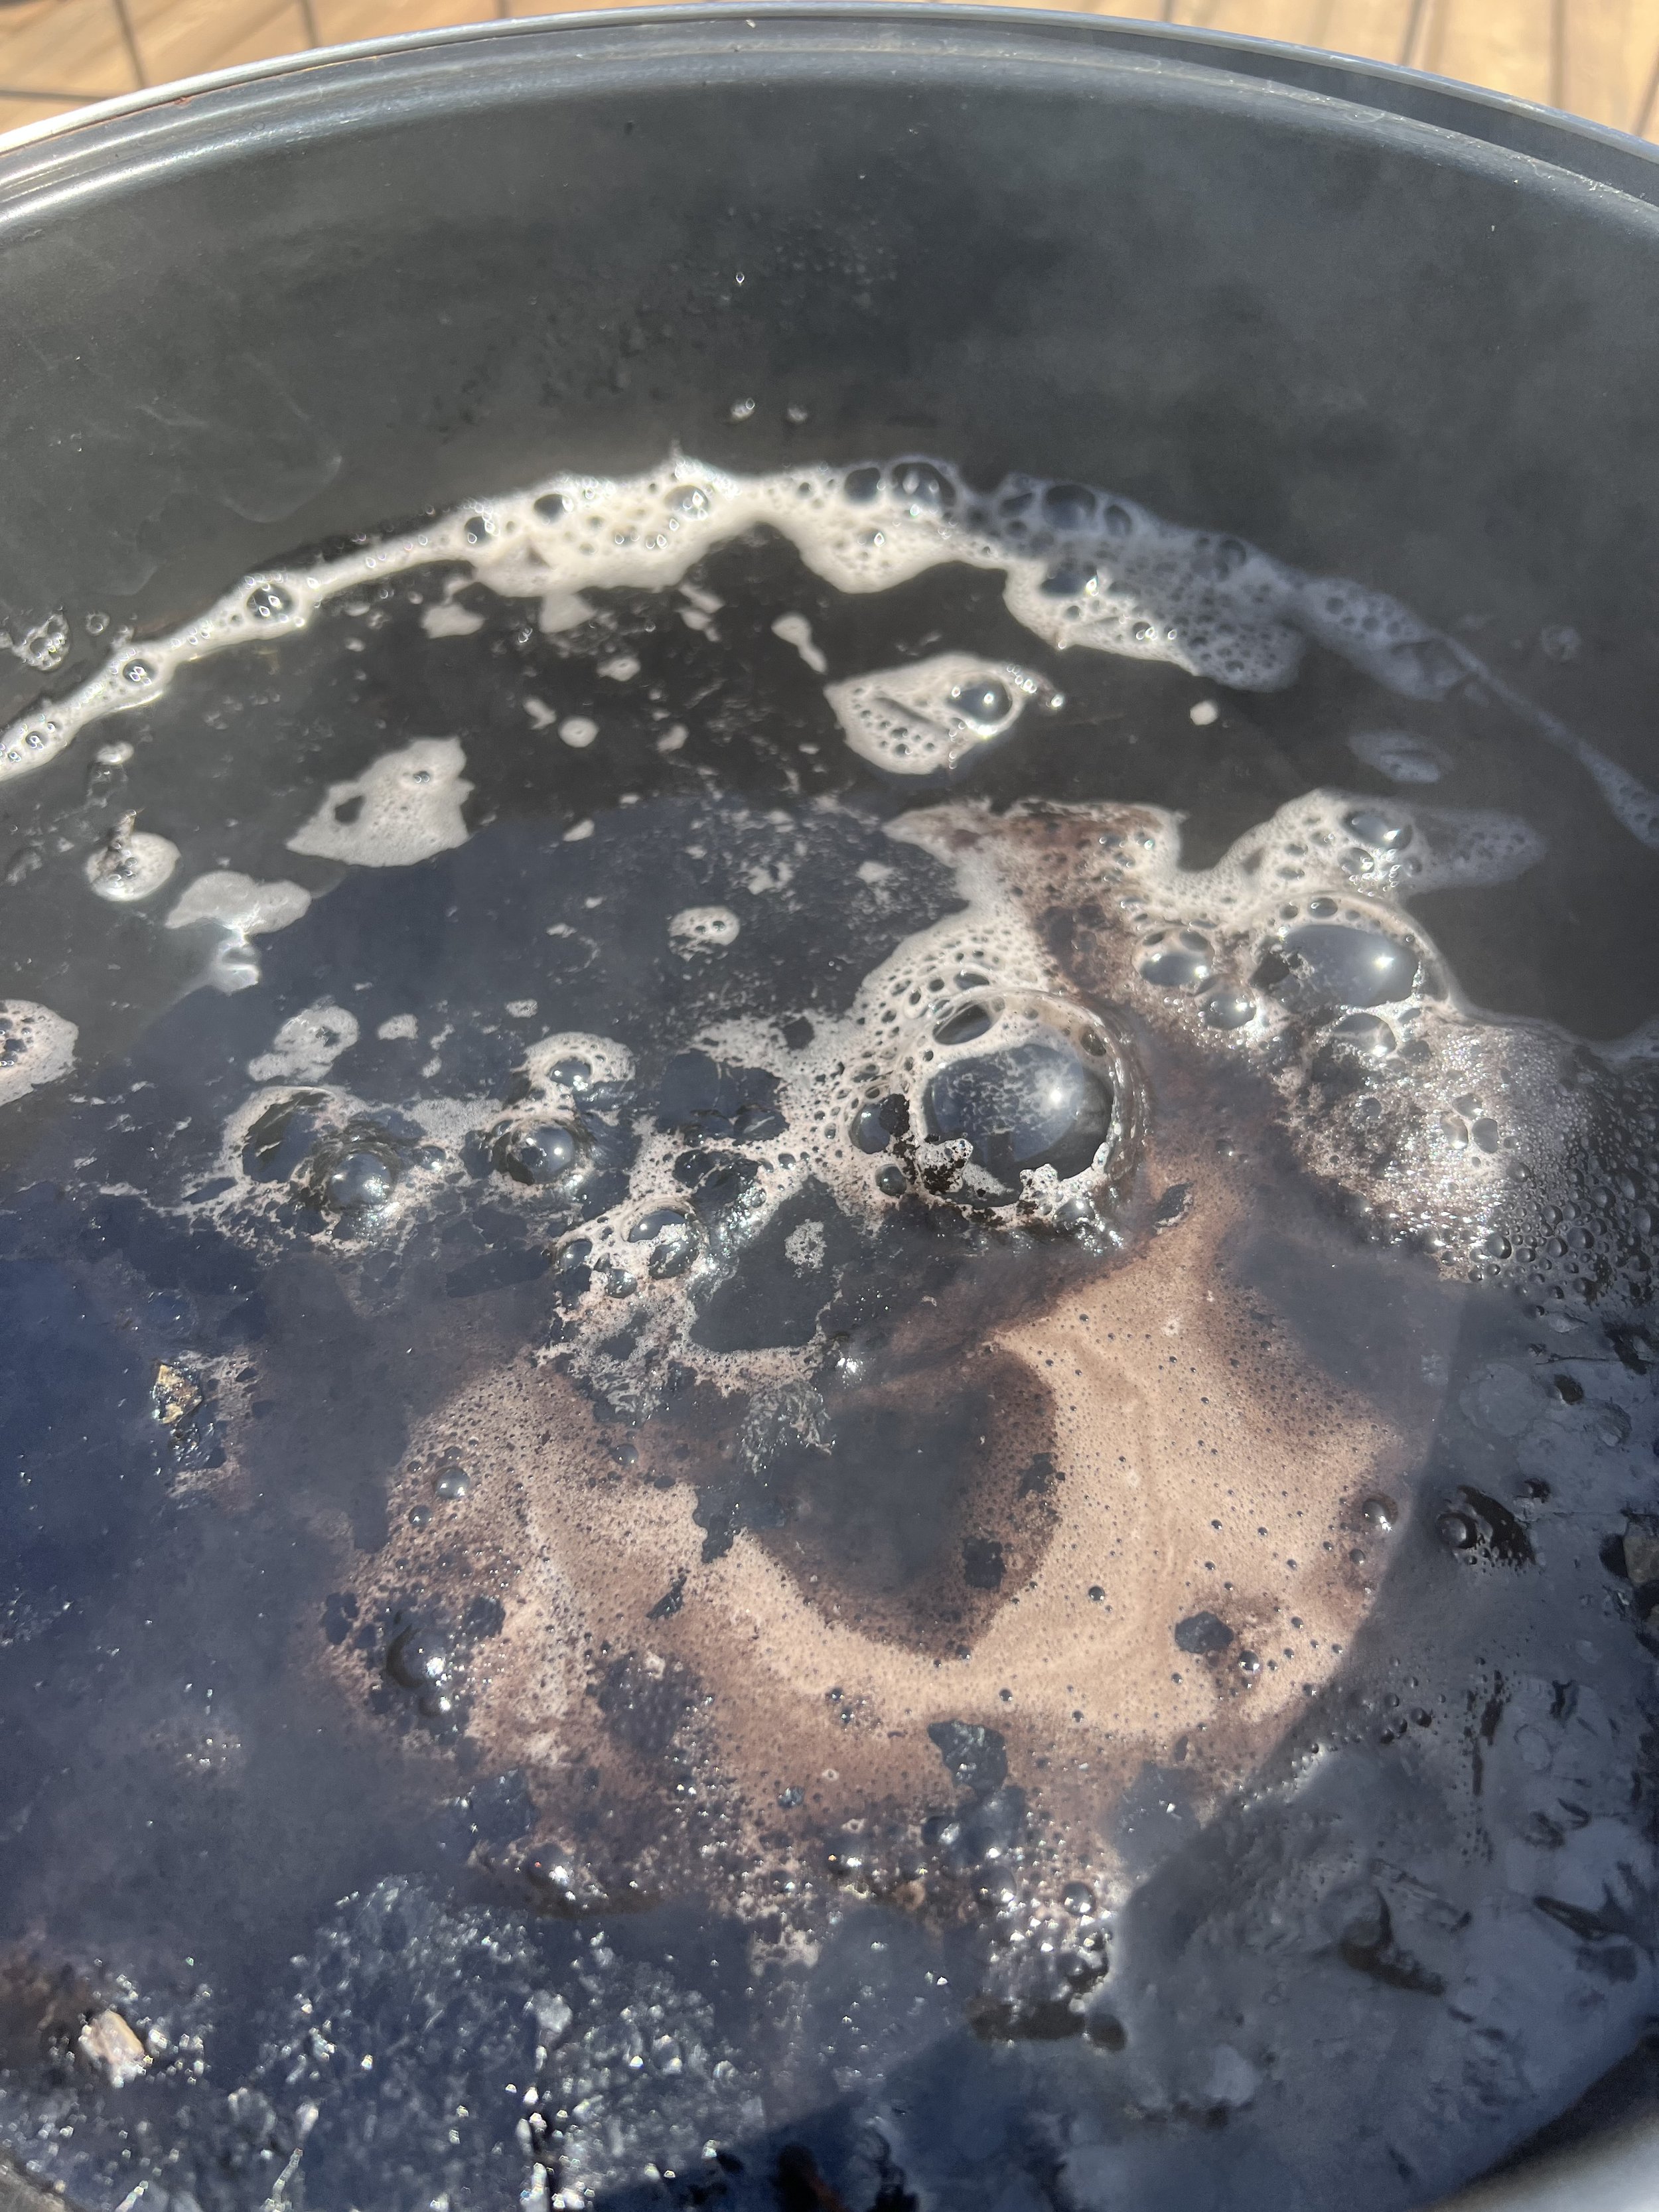
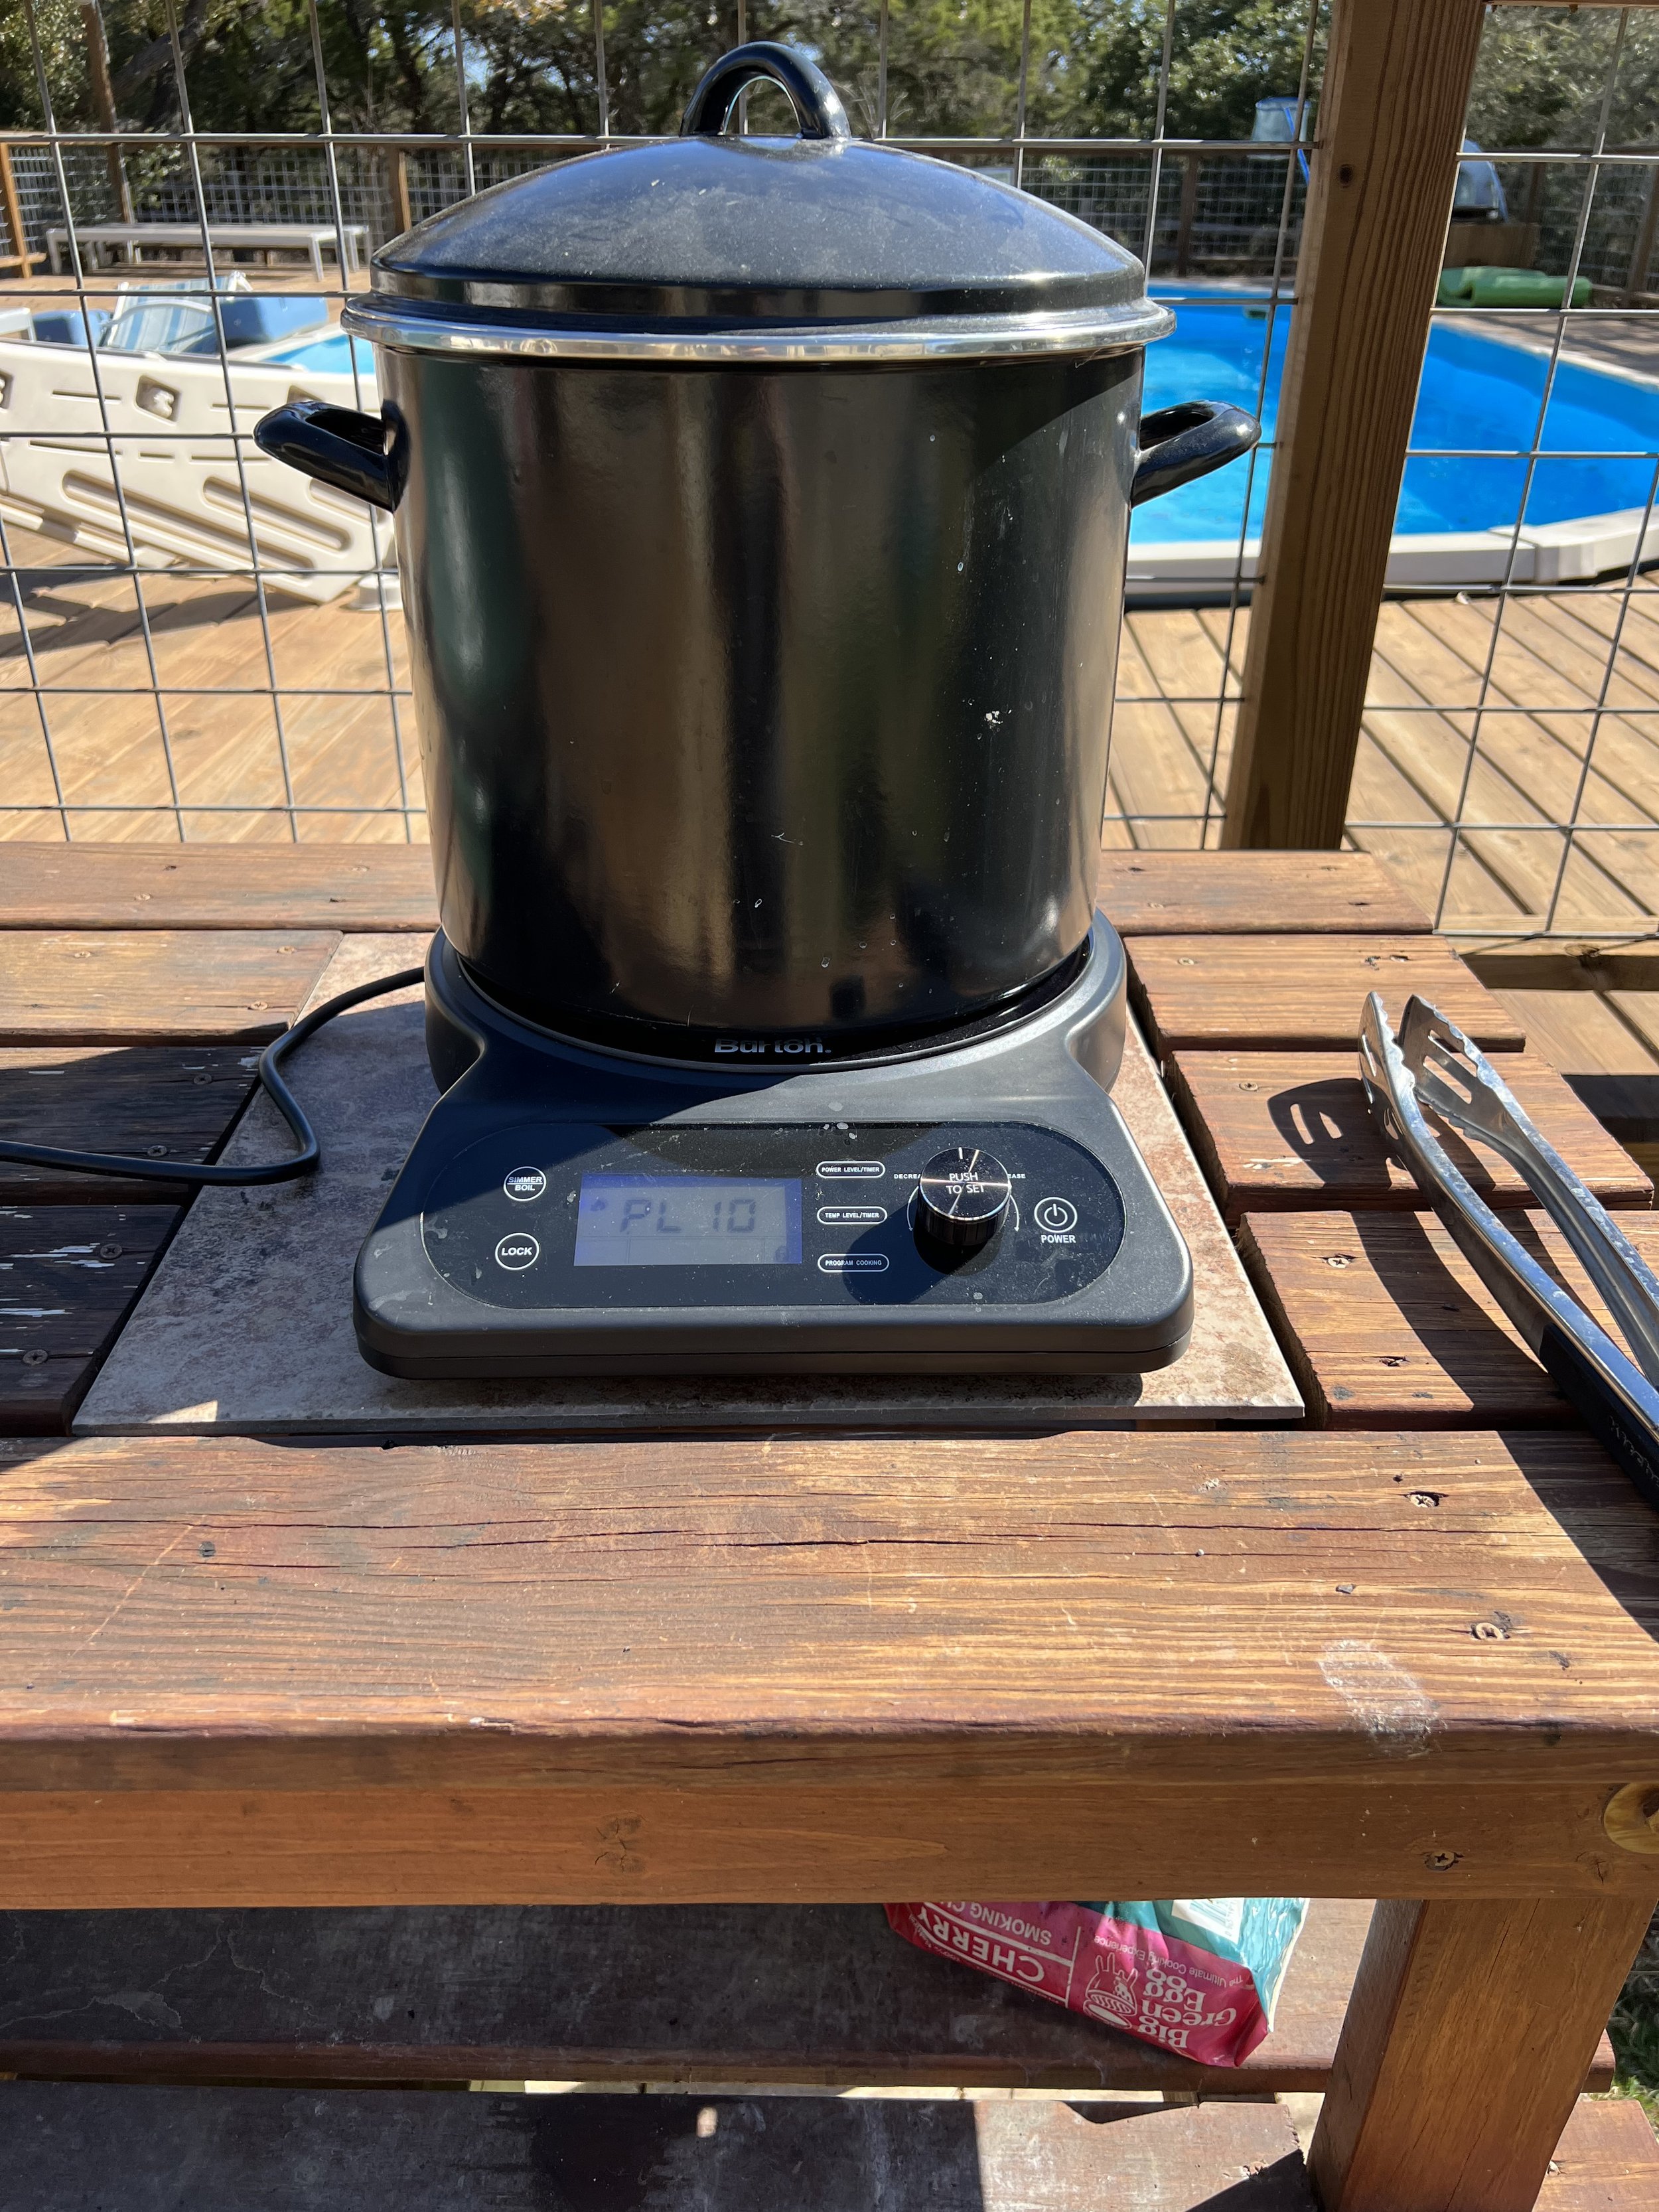
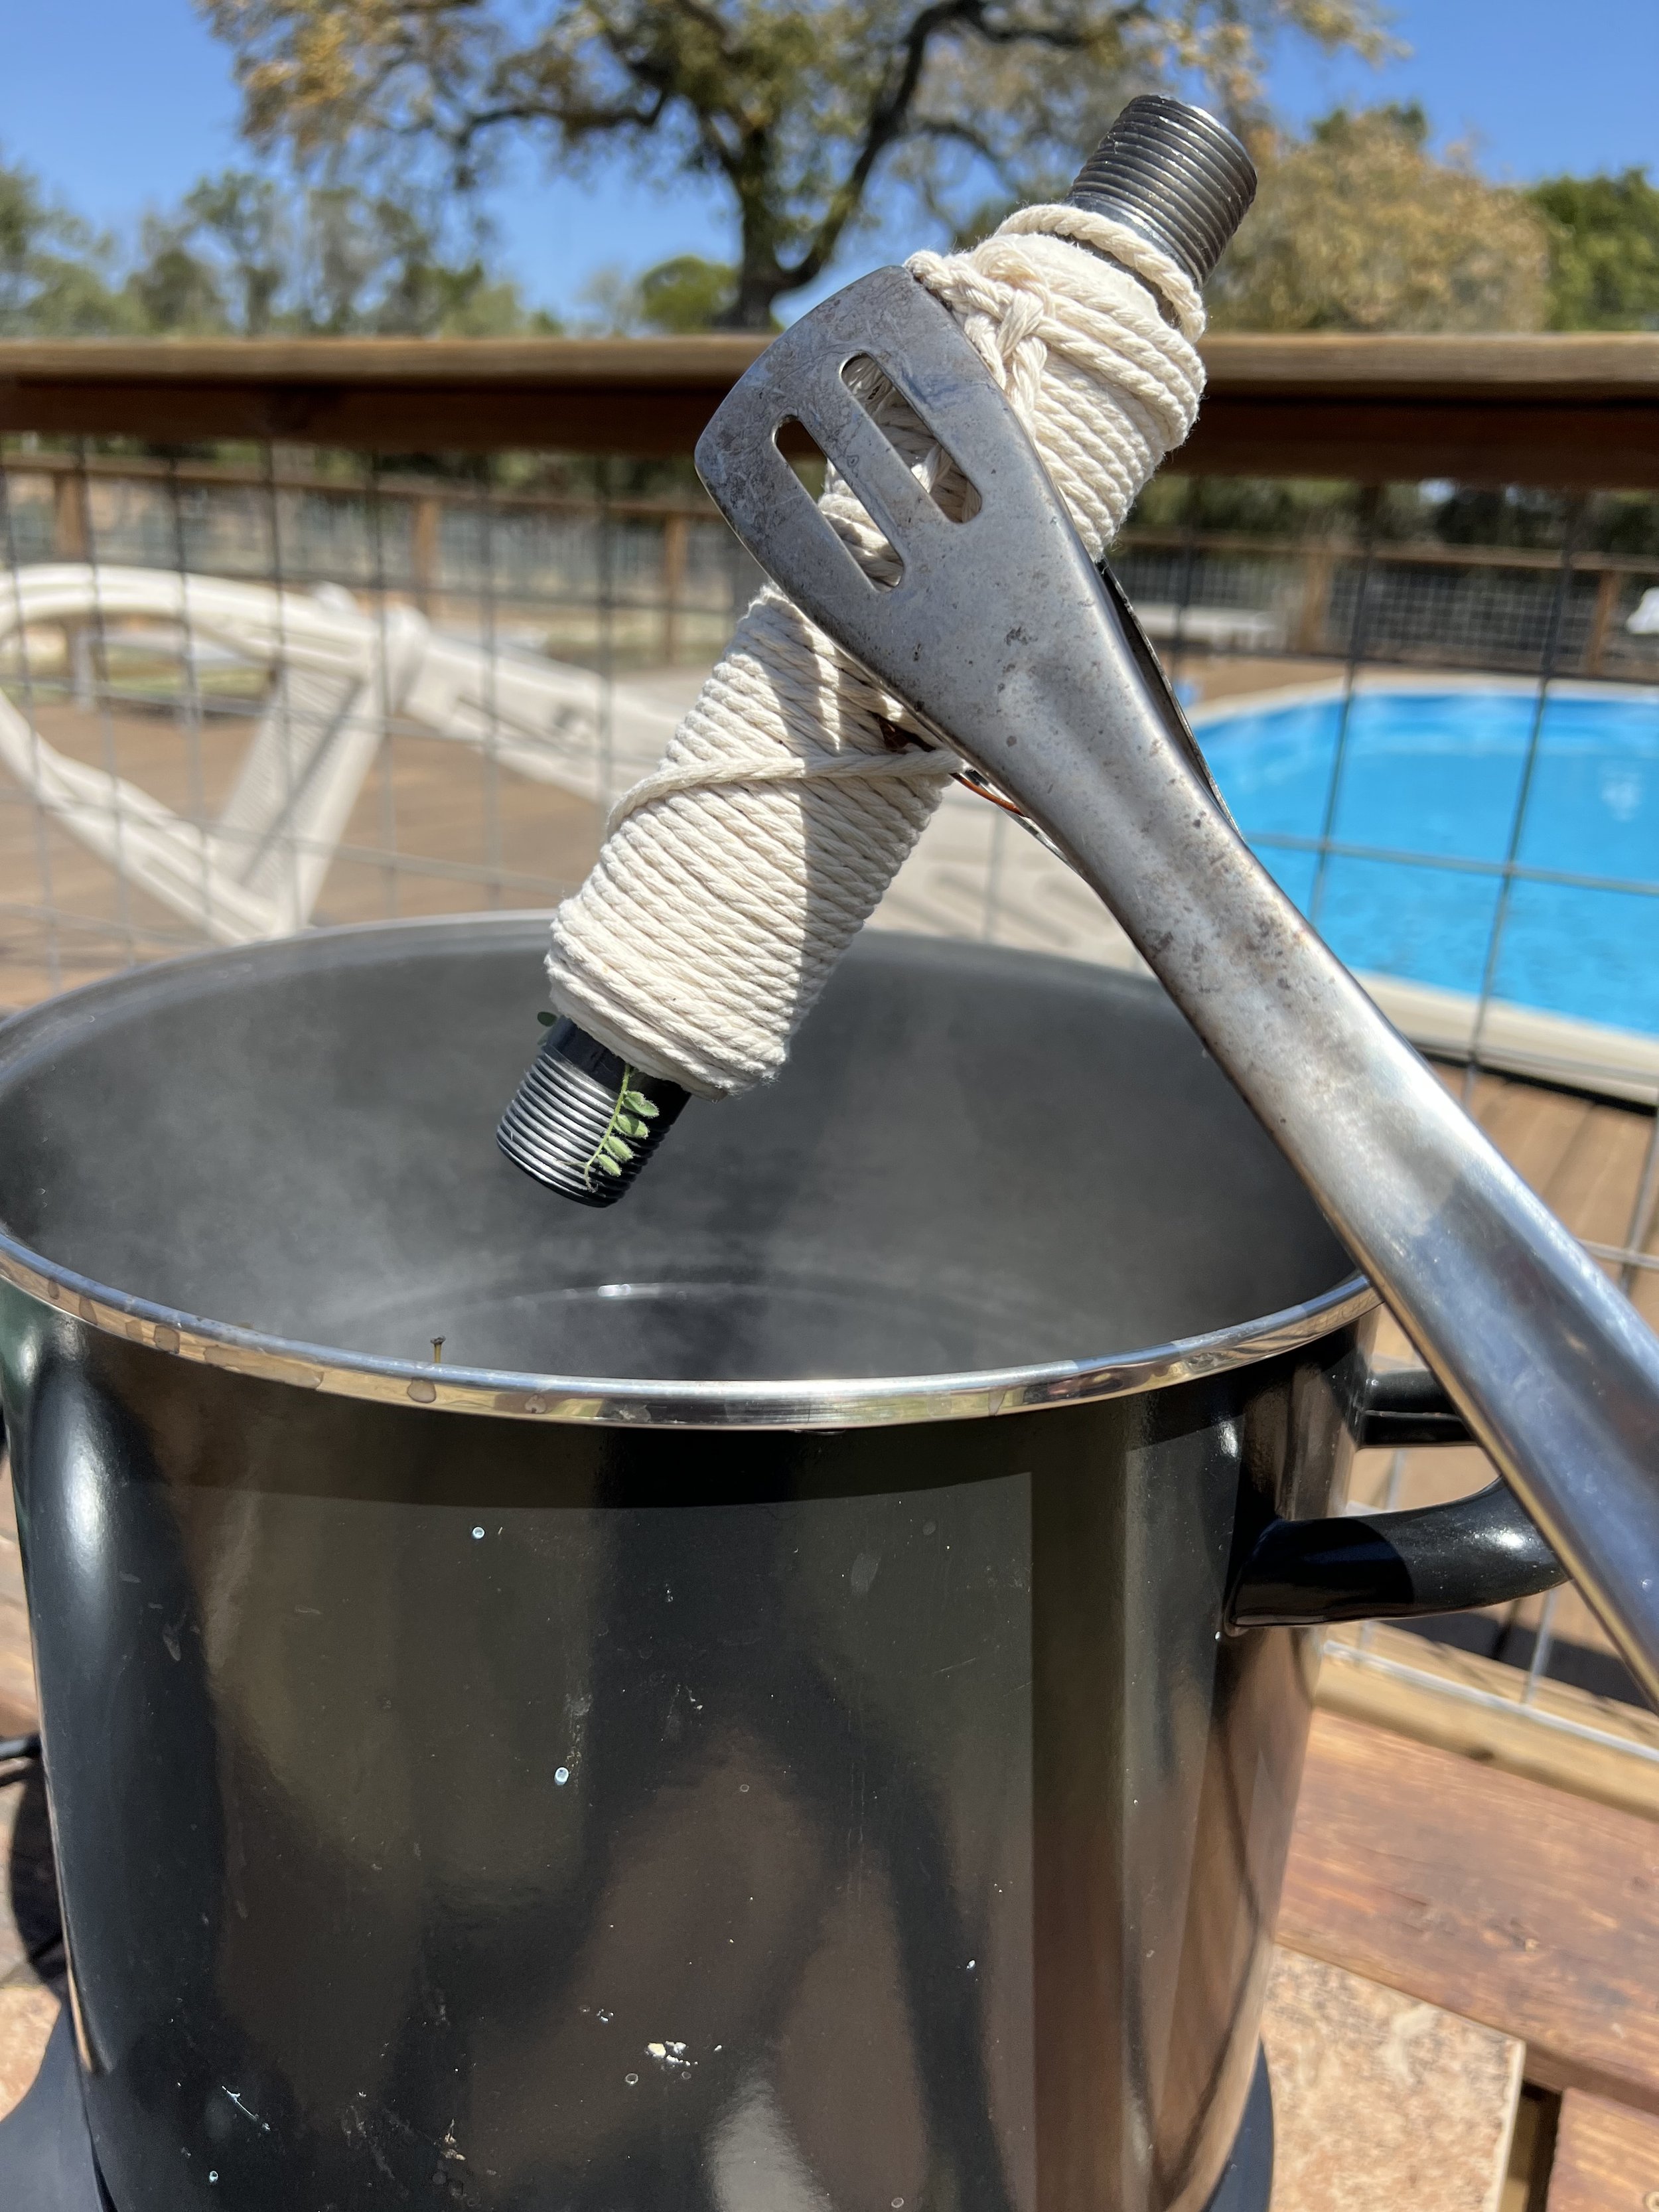
So next I had to prepare the dye pot! This is the extra weird part as the instructor fills it with eucalyptus leaves and branches and water and something rusty. I used some agarita leaves and stems, black tea, and a rusty chain. Super weird. So it all goes in a big pot and boils for awhile. All of this, by the way, is done outside because you don’t want to be inhaling the fumes. Then the next day you simmer the dye pot again. Then it is ready to use!

Generally one wears a witch’s hat when boiling the dye pot.
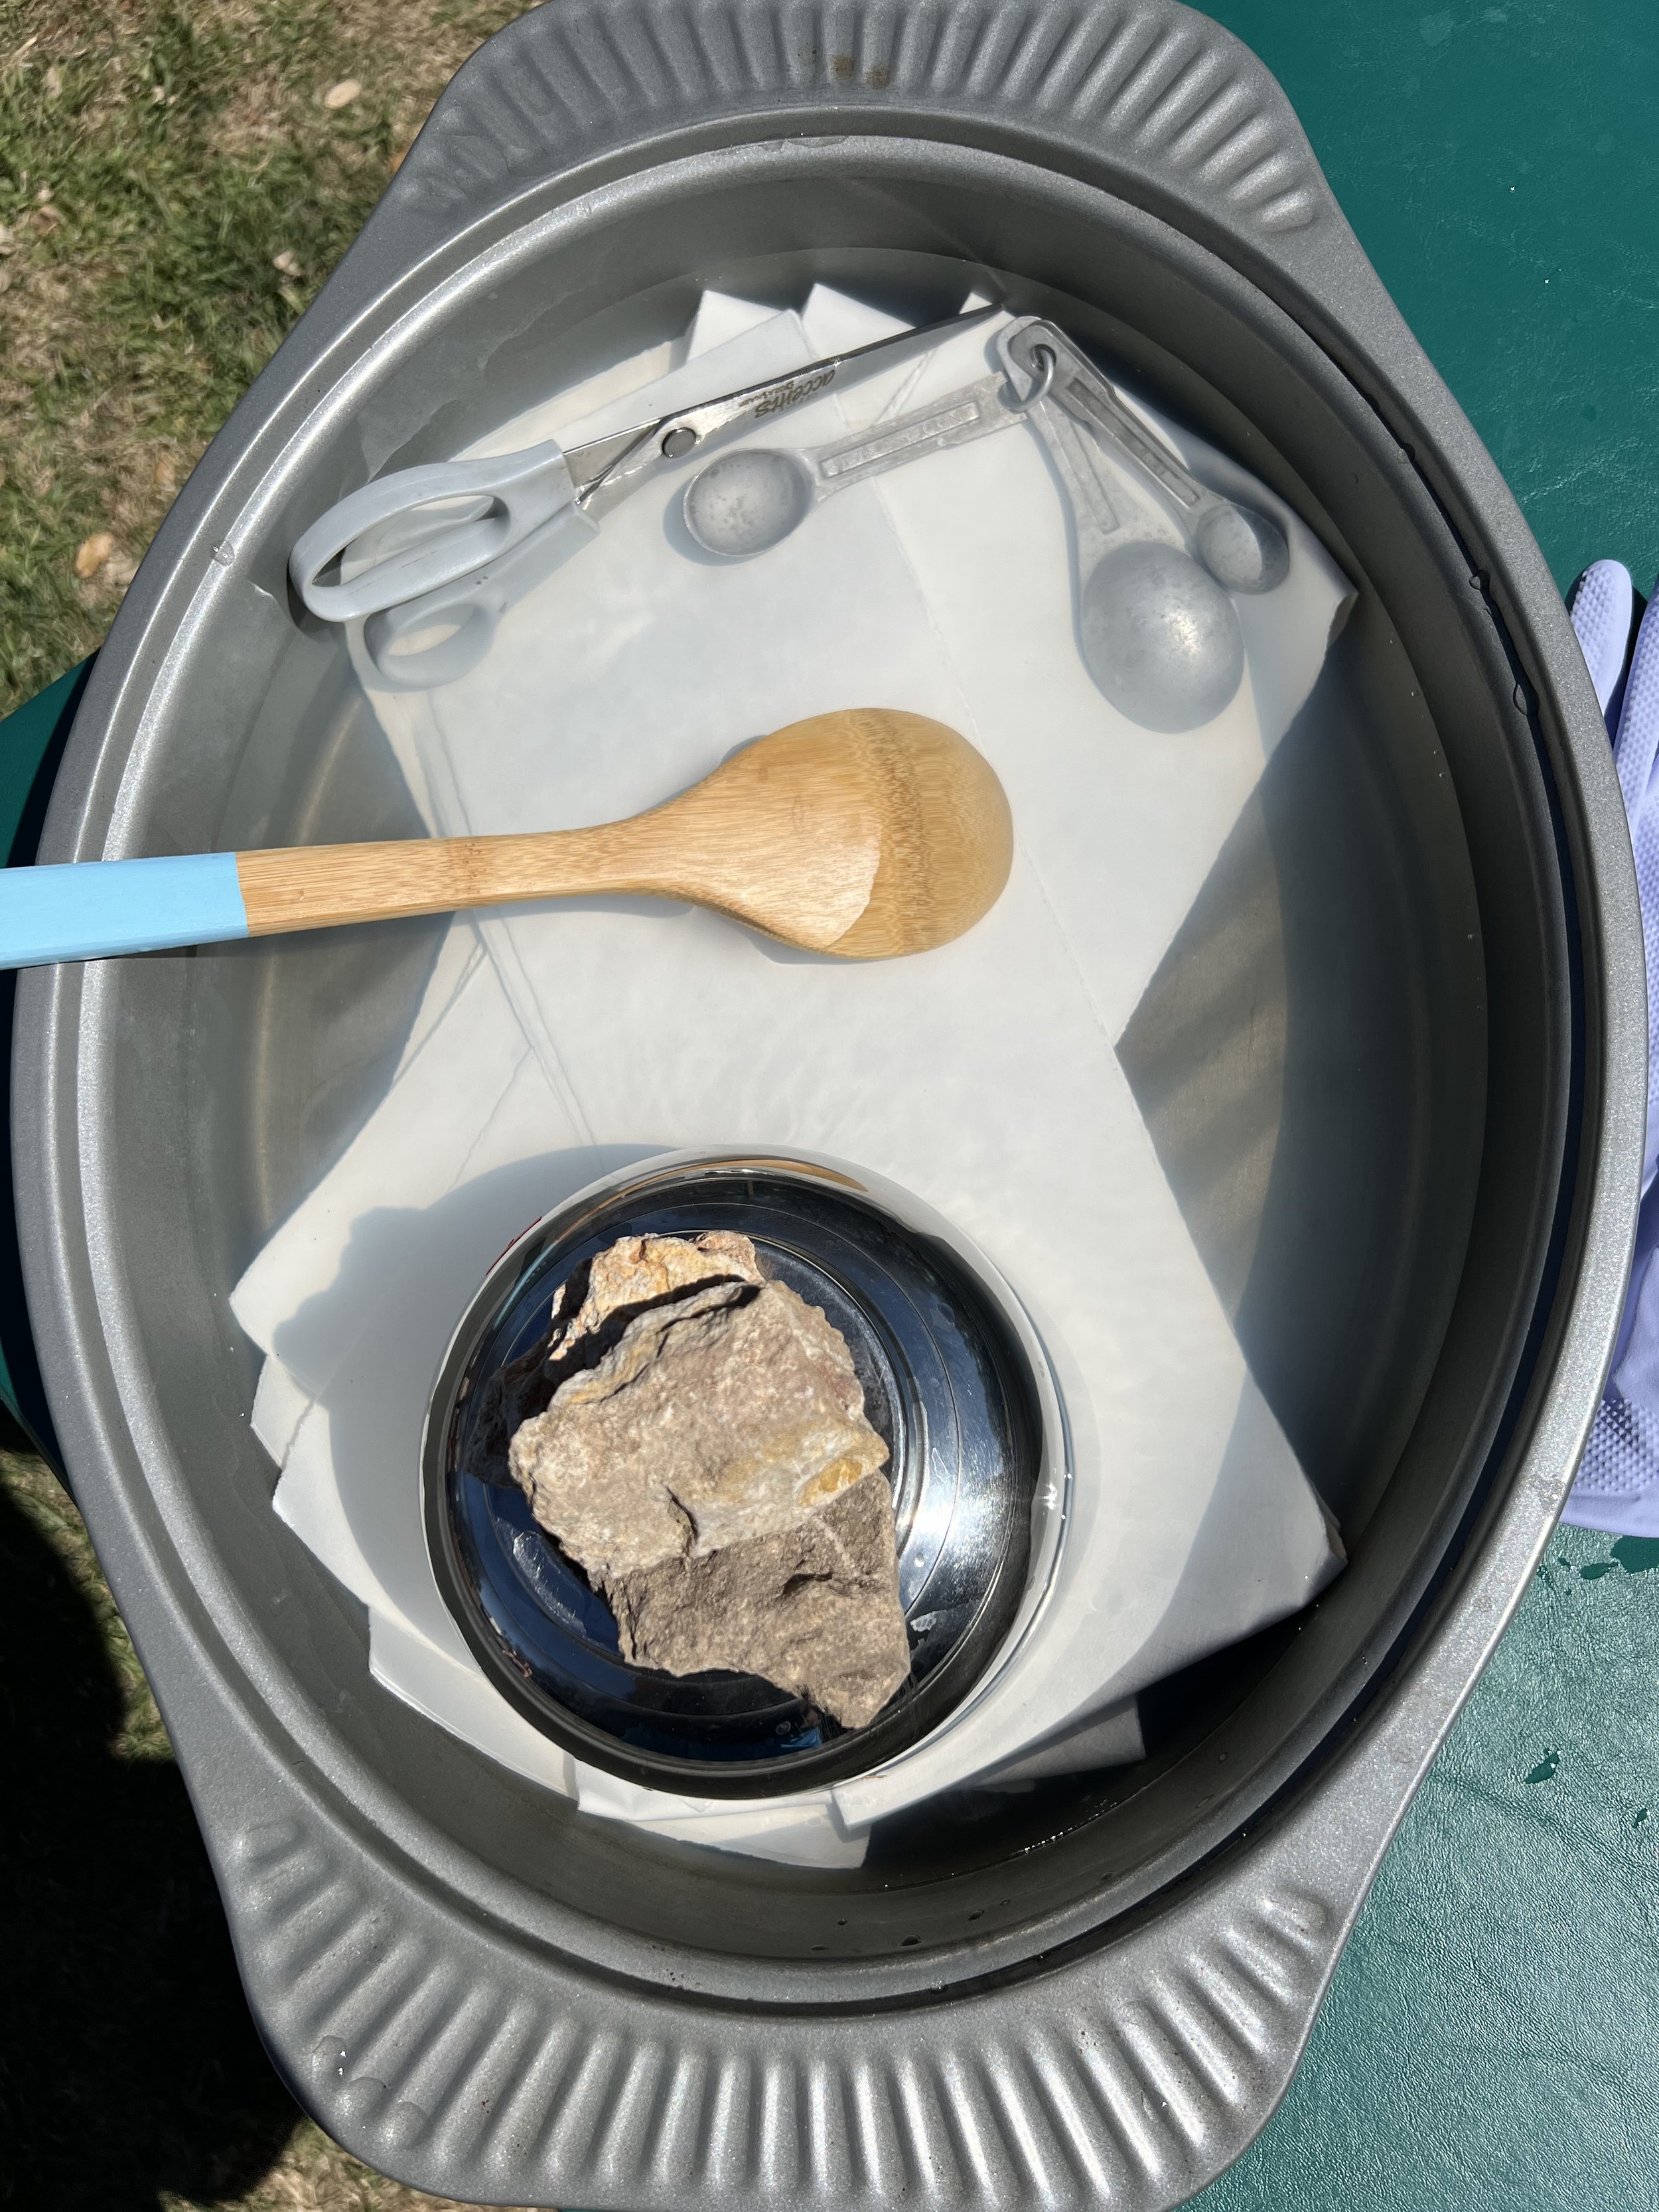
So finally I went ahead and soaked my strip of paper in water, patted it dry, and laid several different leaves and things on it. Wanted to try as various kinds to see what they’d do. Some were older ones which had soaked in water to get them to soften.

Then I rolled the paper tightly on a metal rod and tied it all up with string. Then placed it in the pot for like 90 minutes to simmer.
Then I “unbundled”! I hung it to dry. Then I ironed it flat. Below is the result.

So first off, it worked. In fact, it was bound so tightly that very little dye seeped in. On the other hand, I was hoping some of the leaves would generate MORE color than they did. Partially that’s because I was using brown, old ones. As spring is arriving, soon I’ll be able to use fresher ones and more variety. So I posted my result on-line where the class is and the instructor commented on it and basically said it was great for a first attempt.
So then for the heck of it I decided to try to embellish it (the instructor does this) and so I went overboard and tried out watercolor, marker, pen. I don’t like it but I felt like I should experiment. It overall still looks like something you’d have in a kindergarten school window but I feel in time I could start to make more interesting ones. I also would prefer to not even do any embellishing, but we’ll see how future ones go. I’m kind of waiting now until we see more spring growth before trying again.

More pics below.